 blog
blog
10 Common Roofing Mistakes to Avoid
Table of Contents
- Improper Nail Placement and Fastener Mistakes
- Inadequate Attic Ventilation and Moisture Buildup
- Poor Flashing Installation Around Roof Penetrations
- Incorrect Underlayment and Ice and Water Shield Installation
- How to Identify Storm Roof Damage Before It Worsens
- When to Replace vs Repair Roof: Making the Right Call
- Your Essential Roof Maintenance Checklist
- Frequently Asked Questions
Last Updated: September 24, 2026
Improper Nail Placement and Fastener Mistakes
Fastener errors are the most common defect found during roof inspections. Roofing mistakes like this rarely show up right away. They wait for the first heavy rain.
Nail placement is where most roof problems begin. According to the asphalt shingle installation guidance published by the Asphalt Roofing Manufacturers Association, fasteners must sit in the manufacturer's specified nail zone, and each shingle needs the right number of nails driven at the correct depth. Miss the zone and the shingle never seats properly.
Here is what goes wrong most often:
- High nails miss the reinforced nailing strip, so wind lifts the shingle
- Overdriven nails cut through the mat and lose holding power
- Angled nails tear the shingle surface and create a leak path
- Too few nails leave the field vulnerable in high winds
The consequence is not cosmetic. Loose shingles let water behind the course below, reaching the decking and starting rot, a small fastening error becomes a full roof leak within a season or two.
Fastener placement also affects your warranty: manufacturers can deny a claim when shingles were not installed to specification.
Inadequate Attic Ventilation and Moisture Buildup
Attic ventilation is the intake and exhaust system that moves hot, moist air out from under your roof. When it fails, moisture has nowhere to go.
Most homes need soffit vents at the eaves for intake and ridge vents or another exhaust point at the top.
What you get without airflow:
- Condensation on the roof decking in winter
- Blistering and curling shingles from trapped heat in summer
- Mold and mildew on attic framing
- Higher cooling bills because the attic bakes the rooms below
Poor Flashing Installation Around Roof Penetrations
Flashing is the metal or membrane that seals joints where water can enter: chimneys, vent pipes, skylights, and valleys. Poor flashing installation is the leading cause of leaks at penetrations.
Watch for these signs of a bad flashing job:
- Sealant used as the primary water barrier instead of a backup
- Rusted or bent flashing that no longer sits flat
- Missing kick-out flashing where a roof meets a wall
- Water stains on the ceiling below a chimney or vent
Incorrect Underlayment and Ice and Water Shield Installation
Underlayment is the water-resistant layer under your shingles; ice and water shield is the self-adhering membrane used in valleys, along eaves, and around penetrations. Get either wrong and the roof has no second line of defense, and you may lose warranty and insurance coverage in the same failure.
Common underlayment errors:
- Overlapping the felt or synthetic too little, leaving gaps
- Skipping ice and water shield at the eaves in cold climates
- Installing synthetic underlayment upside down
- Using the wrong product for a low-slope section
- Failing to extend ice and water shield at least 24 inches inside the warm wall line
How Underlayment Mistakes Void Your Warranty
Most asphalt shingle manufacturers require ice and water shield at the eaves and in valleys as a condition of their material warranty. If a crew skips it, the manufacturer can deny a claim for leaks originating in those areas, even if the shingles were installed correctly. The same applies to underlayment overlap: most specifications require a minimum 2-inch horizontal lap and 4-inch vertical lap for synthetic underlayment, and 2-inch horizontal and 6-inch vertical for felt.
The Insurance Claim Denial Risk
Insurance carriers also look at underlayment when evaluating storm damage claims. If ice and water shield was omitted at the eaves and ice damming later causes interior water damage, the adjuster may classify the loss as a maintenance or installation defect rather than a covered peril, turning a $15,000 claim into a denial and a cancelled policy.
What to Verify Before the Shingles Go On
Ask your contractor for photos of the underlayment and ice and water shield before the shingle course covers them. Confirm the ice and water shield extends at least 24 inches past the interior warm wall line at the eaves. Check that valleys have a self-adhering membrane, not just felt. Verify the overlap direction sheds water, upper layers over lower layers, never the reverse.
How to Identify Storm Roof Damage Before It Worsens
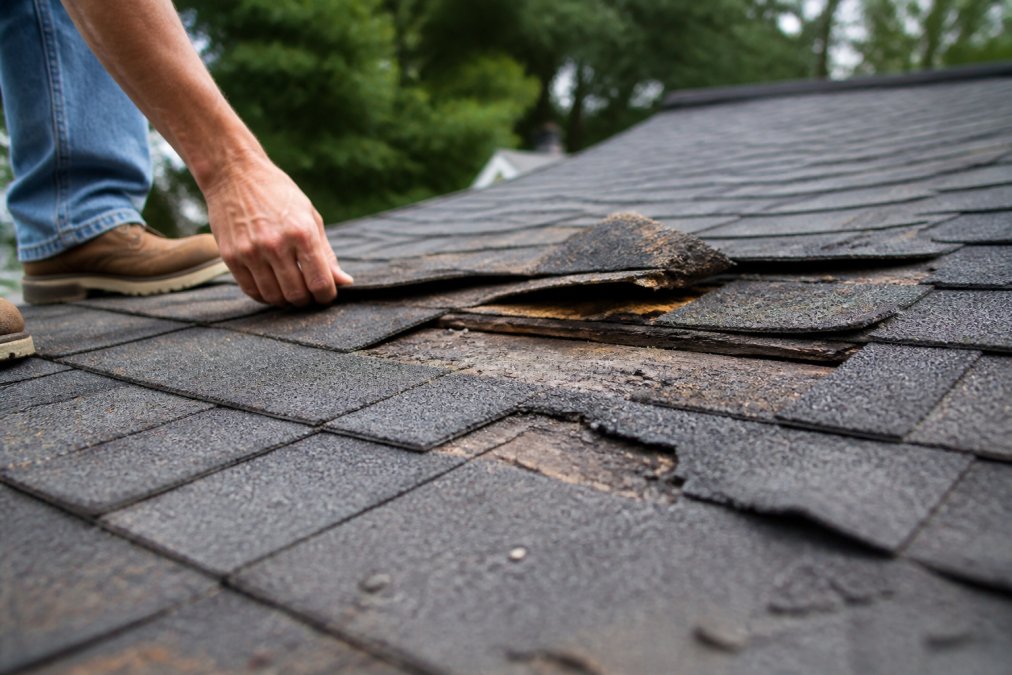
Learning how to identify storm roof damage early is the difference between a repair and a replacement. But there is a second layer most guides never mention: installation mistakes that turn a covered storm claim into a denied one. High nails, missing ice and water shield, or improper flashing can lead an adjuster to classify damage as a pre-existing defect rather than a storm loss.
- Missing or lifted shingles, especially on slopes facing the storm
- Granule loss that leaves dark patches on shingles
- Dented gutters, vents, or downspouts (a sign of hail)
- Bruised shingles that feel soft, like a bruised apple
- Water stains on attic rafters or insulation
- Daylight showing through the roof boards
- Creased or torn shingle tabs where wind lifted and dropped them
The Installation Error That Gets Claims Denied
Insurance adjusters are trained to distinguish storm damage from installation defects. A shingle that lifted because of a high nail looks different from one that lifted because of 70 mph wind: the first is a workmanship issue the carrier will not cover, the second a covered peril.
- Nails placed outside the manufacturer's nail zone
- Missing or improperly lapped ice and water shield at the eaves
- Flashing sealed with caulk instead of properly layered
- Shingles installed with insufficient overhang
What to Document After a Storm
If you spot any of the signs above, get a professional roof inspection before the next storm. Small damage spreads fast once water gets under the shingle layer. But also document everything:
- Photograph damage from the ground before anyone touches the roof
- Note the date and time of the storm event
- Keep receipts for any emergency tarping or repairs
- Ask your inspector to note whether the damage is consistent with storm forces or pre-existing installation defects
When to Replace vs Repair Roof: Making the Right Call
The decision to replace vs repair a roof comes down to age, extent of damage, and cost over time. A good rule: if repairs cost more than a quarter of a replacement and the roof is past two-thirds of its life, replace it.
Use this framework:
| Situation | Best Move | Why |
|---|---|---|
| One isolated leak, roof under 10 years old | Repair | Damage is contained, material still has life |
| Widespread granule loss or curling shingles | Replace | The whole surface is failing |
| Storm damage across multiple slopes | Replace | Too many leak points to patch |
| Roof over 20 years old with any leak | Replace | Repair money is better spent on new material |
| Hail bruising on many shingles | Replace | Bruised shingles fail early, often not repairable |
Your Essential Roof Maintenance Checklist
A roof maintenance checklist turns a reactive problem into a scheduled task. Run through this twice a year, in spring and fall.
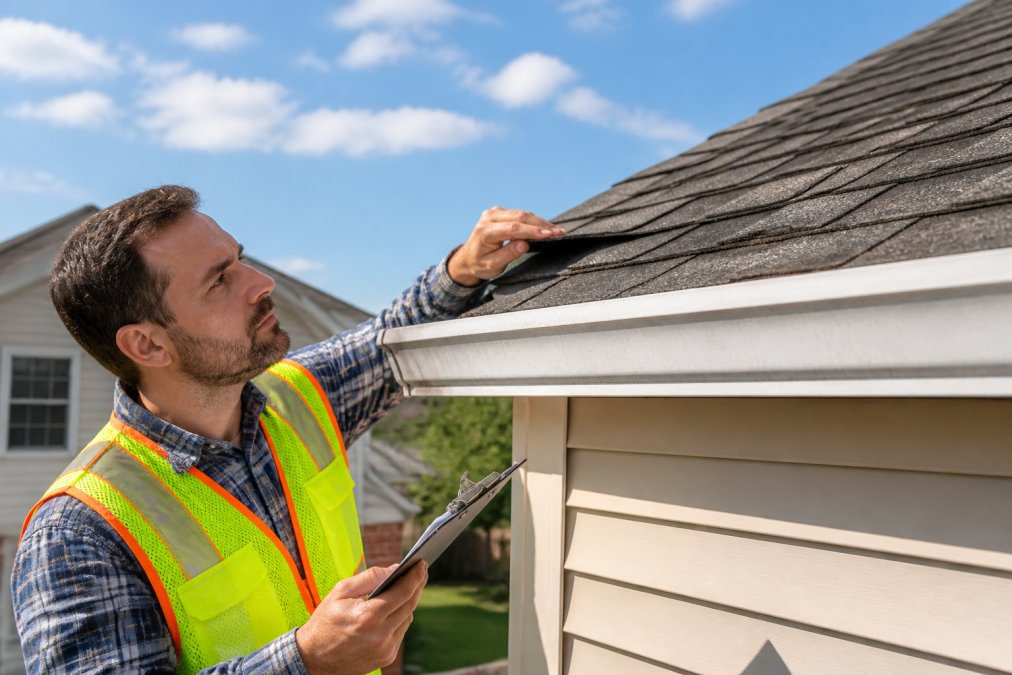
- Clear leaves and debris from the roof surface and valleys
- Check gutters and downspouts for clogs and sagging
- Look for cracked, curling, or missing shingles
- Inspect flashing around chimneys, vents, and skylights
- Check the attic for water stains, mold, or daylight
- Confirm soffit and ridge vents are clear
- Trim tree branches that touch or overhang the roof
- Note any granules collecting in gutters
Frequently Asked Questions
What are the five most common roofing problems?
The five most common roofing problems are improper nail placement, inadequate attic ventilation, poor flashing installation, incorrect underlayment installation, and clogged gutters. These issues often lead to roof leaks, moisture buildup, and premature shingle failure. Homeowners should schedule regular roof inspections to catch these problems early. Addressing them promptly can extend the life of your roof and prevent costly water damage to your home's interior.
How can improper ventilation lead to premature roof failure?
Without proper attic ventilation, heat and moisture become trapped in the attic. This causes shingles to blister and curl from underneath, while roof decking can rot from condensation. In summer, trapped heat can reach temperatures that degrade roofing materials faster than normal. Soffit vents and ridge vents work together to create airflow that moves hot air out and pulls cooler air in, protecting your roof's structural integrity.
What are the signs of poor roof installation?
Signs of poor roof installation include shingles that are misaligned or not lying flat, exposed nail heads, insufficient shingle overhang at the edges, and missing drip edge. You might also notice leaks shortly after a storm or find that flashing around chimneys and vents is loose or improperly sealed. A professional roof inspection can uncover these issues before they cause serious water damage. If you suspect poor installation, document everything and contact a licensed contractor.
Why is hiring an unlicensed contractor considered a major roofing mistake?
Hiring an unlicensed contractor puts you at risk for substandard work, no warranty coverage, and potential liability if a worker gets injured on your property. Unlicensed contractors often lack proper insurance, meaning you could be responsible for medical bills or property damage. They may also cut corners on materials and skip required permits. Always verify licensing, insurance, and references before signing a roofing contract.