 blog
How to Check Your Roof After a Wind Storm
Last Updated: October 31, 2026
Quick Summary
Essential roof maintenance after a wind storm starts with safety, then a ground-level and attic inspection for missing or lifted shingles, broken seals, damaged flashing, and daylight or damp spots. Document everything with photos and receipts before any permanent repairs begin.
- Keep everyone off ladders and away from the roofline during the first 24 hours.
- Check edges and corners first, since they take the most wind load.
- Look for creased shingles, broken seal strips, and damaged flashing.
- Photograph damage from the ground and keep dated receipts for mitigation costs.
- Avoid permanent repairs before the insurance adjuster has inspected the damage.
Table of Contents
- Safety First: What Not to Do in the First 24 Hours
- Roof Storm Damage Checklist: Ground-Level and Attic Inspection
- Wind Damage Roof Signs Beyond Missing Shingles
- How to Document Roof Damage for Insurance
- Temporary Roof Leak Repair and Emergency Thresholds
- Scheduling Your Post-Storm Roof Repairs and Follow-Up
- Frequently Asked Questions
Roof maintenance after a wind storm is the difference between a repair bill you can plan for and an emergency you can't. Damage that looks minor from the driveway often turns into water intrusion within days. Roof maintenance done early keeps small problems small.
Wind is the sneaky one. Hail leaves dents you can see. Wind lifts, creases, and loosens materials in ways that don't always show from the ground. A shingle that's been partly torn away can still look attached, but the seal is broken and the next rain will find the gap.
This guide walks through what to check, what to avoid, and how to document what you find. It also covers when to call a professional.
Safety First: What Not to Do in the First 24 Hours
Your safety comes before any inspection. Storm debris, wet surfaces, and damaged structures cause more injuries than the roof damage itself. The first 24 hours are not for repair work, they are for triage. Treat the day as a sequence of safe actions rather than a single walkaround.
Hours 0-2: Secure people and power. Keep everyone off ladders and away from the roofline. If you see downed lines or a service mast pulled away from the house, call the utility's emergency line and stay clear, assume every line is live. Do not enter any room with a sagging ceiling, a bulging wall, or standing water near outlets, switches, or light fixtures. Those are structural and electrical hazards, not maintenance items.
Hours 2-6: Contain water from the inside only. If water is actively entering, place buckets under drips and move furniture, electronics, and rugs out of the path. Poke a small relief hole in a bulging ceiling only if you can do it safely from a stable step stool and with the power to that room shut off, trapped water adds weight, and a controlled drip is safer than a sudden collapse. Never go on the roof in wind or rain to chase a leak.
Hours 6-24: Ground-level observations only. Walk the perimeter at a safe distance and use binoculars. Note missing shingles, lifted edges, displaced flashing, and debris resting on the roof. Photograph from the ground. Do not climb, do not tarp, and do not move branches that are touching or near power lines.
When to call for emergency service immediately: water pouring in rather than dripping, a sagging or bulging ceiling, wet electrical fixtures, a missing section of roofing large enough to expose decking, or any downed line on the property. Anything short of those thresholds can usually wait for a scheduled inspection.
Roof Storm Damage Checklist: Ground-Level and Attic Inspection
Start with a walk around the outside of the house. Use binoculars if you have them.
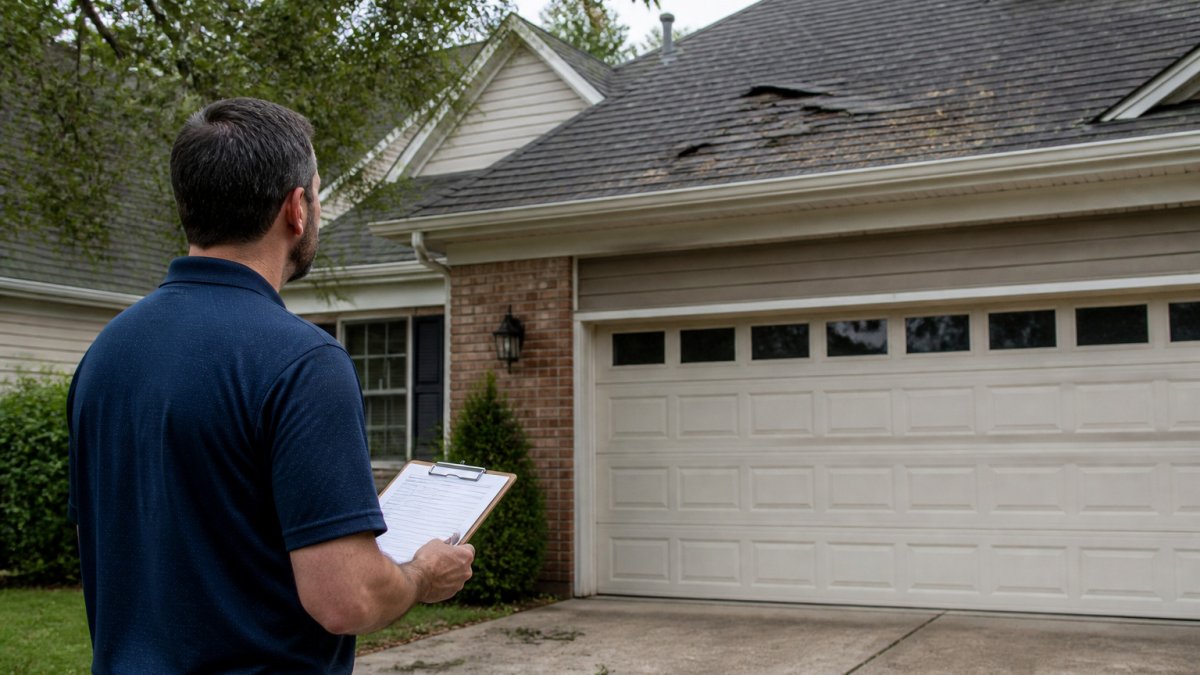
- Look for missing, curled, or lifted shingles along the edges
- Check gutters and downspouts for dents, pulled loose sections, or shingle grit
- Scan for branches or debris resting on the roof
- Note any siding or fence damage, which often signals stronger wind exposure
Then go into the attic with a flashlight. Attic checks catch problems that don't show outside.
- Look for daylight coming through the roof boards
- Check the underside of the decking for dark stains or damp spots
- Smell for musty odors, which point to moisture that has been building
- Inspect insulation for compressed or wet patches
Document each finding as you go. You'll need these notes later.
The ground-level and attic checks each target a different set of signs, as summarised below.
| Area | What to look for | Where to look |
|---|---|---|
| Exterior edges | Missing, curled, or lifted shingles | Outside, along the edges |
| Gutters and downspouts | Dents, pulled loose sections, shingle grit | Outside, along the gutters |
| Roof surface | Branches or debris resting on the roof | Outside, from the ground |
| Siding and fences | Damage signalling stronger wind exposure | Outside, around the house |
| Roof boards | Daylight coming through the boards | Attic, underside of the roof |
| Decking | Dark stains or damp spots | Attic, underside of the decking |
| Air quality | Musty odors pointing to building moisture | Attic |
| Insulation | Compressed or wet patches | Attic |
Wind Damage Roof Signs Beyond Missing Shingles
Missing shingles are the obvious sign. Several other signs matter just as much.
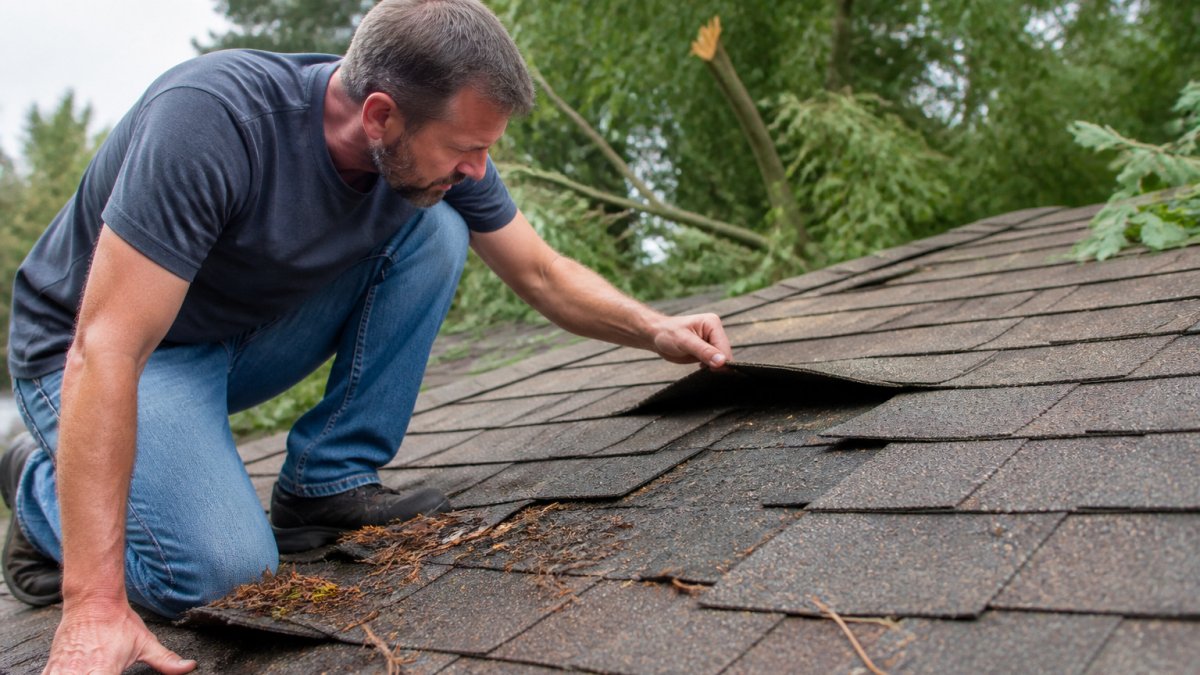
- Creased shingles: A fold line across the shingle means the material has been stressed past its limit
- Broken seal strips: Shingles that no longer lock together will lift in the next gust
- Damaged flashing: Metal flashing around chimneys, vents, and valleys can bend or pull away
- Cracked or displaced vent boots: Rubber boots around plumbing vents are common leak points
- Ridge cap gaps: Lost ridge caps expose the top of the roof to direct water
Check each of these areas specifically, not just the open field of the roof. Edges and corners take the most wind load.
How to Document Roof Damage for Insurance
Good documentation can shape the outcome of an insurance claim. Many homeowners skip this step, then struggle to prove what happened. Treat documentation as a claim file you are building from the first hour, not a set of photos you take when the adjuster calls.
Photograph before you touch anything. Take wide shots of each side of the house from the ground, then close-ups of each damaged area with a coin or ruler for scale. Include date-stamped images if your phone supports it. Photograph interior water stains, buckled paint, and any containers you placed to catch drips, those show active intrusion, not old staining. Do not delete blurry or duplicate shots; adjusters often find detail in images the homeowner thought were unusable.
Keep a written chronology. A short log is more persuasive than a pile of photos. Record:
- The date and time of the storm, and the direction of the wind if you know it
- When you first noticed each issue, and whether it was before or after the storm
- Areas affected, listed by side of the house and by room for interior damage
- Each type of damage observed, in plain language
- Names and dates of anyone who inspected, tarped, or repaired anything
Preserve evidence of mitigation. Keep every receipt for tarps, plywood, fans, dehumidifiers, and emergency labor. Dated receipts help document reasonable mitigation costs for your insurer. Photograph the tarp or board-up in place, not just the damage underneath.
Avoid premature permanent repairs. A common pattern is a homeowner who replaces damaged shingles before the adjuster sees them, then cannot prove the loss. Temporary protective measures are appropriate; permanent replacement before inspection can complicate the claim. Ask the adjuster or your agent what they want to see before work begins.
Prepare a claim packet. Assemble photos, the chronology, receipts, the contractor's written estimate, and your policy number in one folder, digital or paper. Note the claim number and the name of your adjuster on every call. If a contractor offers to "handle the claim for you," keep control of the documentation yourself and never sign an agreement that assigns your claim benefits without reading it.
Temporary Roof Leak Repair and Emergency Thresholds
A temporary fix buys time. It doesn't replace a permanent repair. If you need someone to come out now, check our emergency roof services for what can be scheduled and how to reach the team.
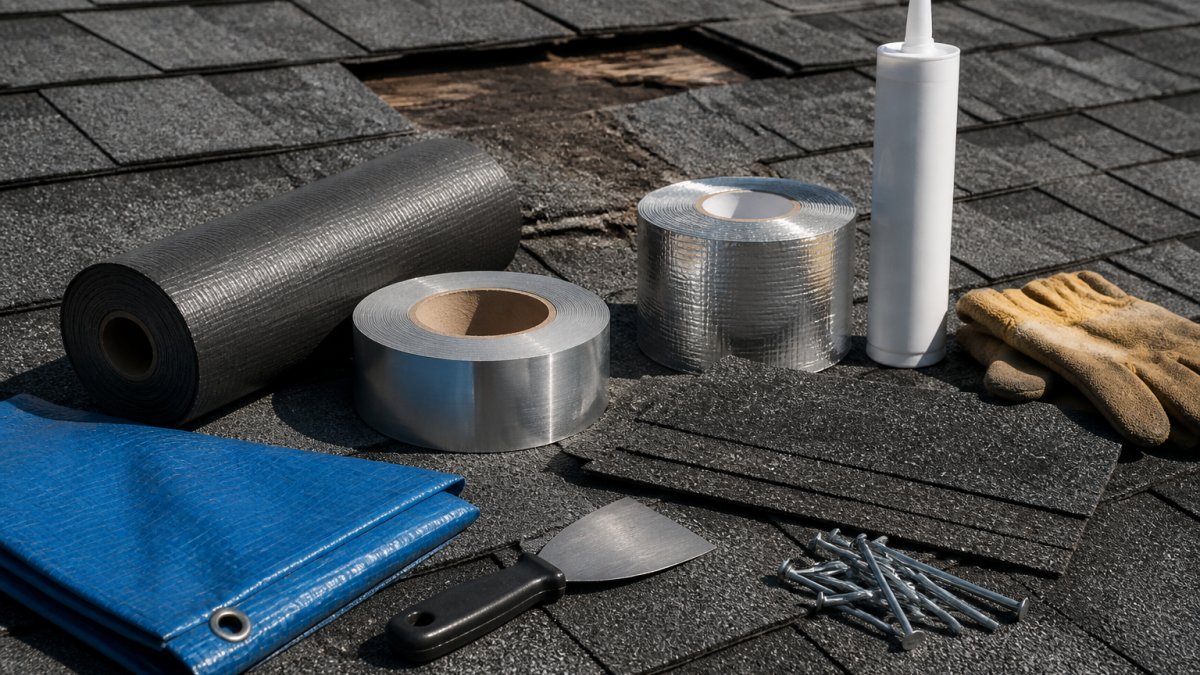
If water is actively coming through the ceiling, place a container under the drip and move valuables away. Cover the affected area of the roof with a tarp only if you can do it safely from the ground or with a professional. Never attempt a rooftop tarp in wet or windy conditions.
Call for emergency service right away if you see any of these:
- Water is pouring in, not just dripping
- Ceiling sections are bulging or sagging
- Electrical fixtures near the leak are wet
- A large section of roofing is missing
Anything less urgent can usually wait a few days for a scheduled inspection, but don't let it sit for weeks.
Scheduling Your Post-Storm Roof Repairs and Follow-Up
Once the immediate risks are handled, schedule a professional inspection. Ask the inspector to check flashing, vents, and seals, not just the shingles. Get a written estimate that separates emergency work from cosmetic repairs.
Repair priority matters. Fix active leaks and structural issues first. Cosmetic fixes can follow.
After repairs are finished, schedule a follow-up inspection after the next heavy rain. Confirm that the work held and that no new water stains have appeared inside.
Contact Certified Roofing Solutions Inc. to book an appointment and get a clear plan for your roof.
Frequently Asked Questions
What should I check on my roof after a windstorm?
Start from the ground with binoculars, looking for missing, creased or lifted shingles, bent flashing and displaced ridge caps. Then check gutters, downspouts and the yard for granules and debris. Inside, check the attic and top-floor ceilings for water stains, damp insulation or daylight showing through the decking. Never climb onto a wet or damaged roof to inspect it. If you see any structural sagging or large openings, call a licensed roofer rather than trying a closer look yourself.
Can wind damage a roof without removing shingles?
Yes. Wind can break the seal strips that bond shingles together, so shingles lift or crease without blowing away. Flashing around chimneys, vents and skylights can loosen, and sealant can crack. These problems often show up later as leaks during the next heavy rain. A wind damage roof inspection looks for creased tabs, granules in gutters, and shingles that no longer lie flat, even when the roof looks mostly intact from the street.
How do I prevent leaks after a windstorm?
Temporary roof leak repair is the first step. Move valuables away from ceiling stains, place buckets under drips, and cover any opening with a tarp secured to the roof from the outside edge, but only if you can do it safely from a ladder or in daylight. Trim broken branches that could strike the roof again. Schedule a permanent repair soon, because a tarp is a short-term measure and can slip in the next storm.
When should I call a roofing contractor after a storm?
Call a licensed roofer promptly if you see missing shingles, water entering the attic or ceilings, sagging areas, exposed decking, or damage to flashing around vents and chimneys. Ask for a written inspection report with photos, and confirm the contractor is licensed and insured in Georgia before any work begins. Contact Certified Roofing Solutions Inc. through its website to book an appointment.