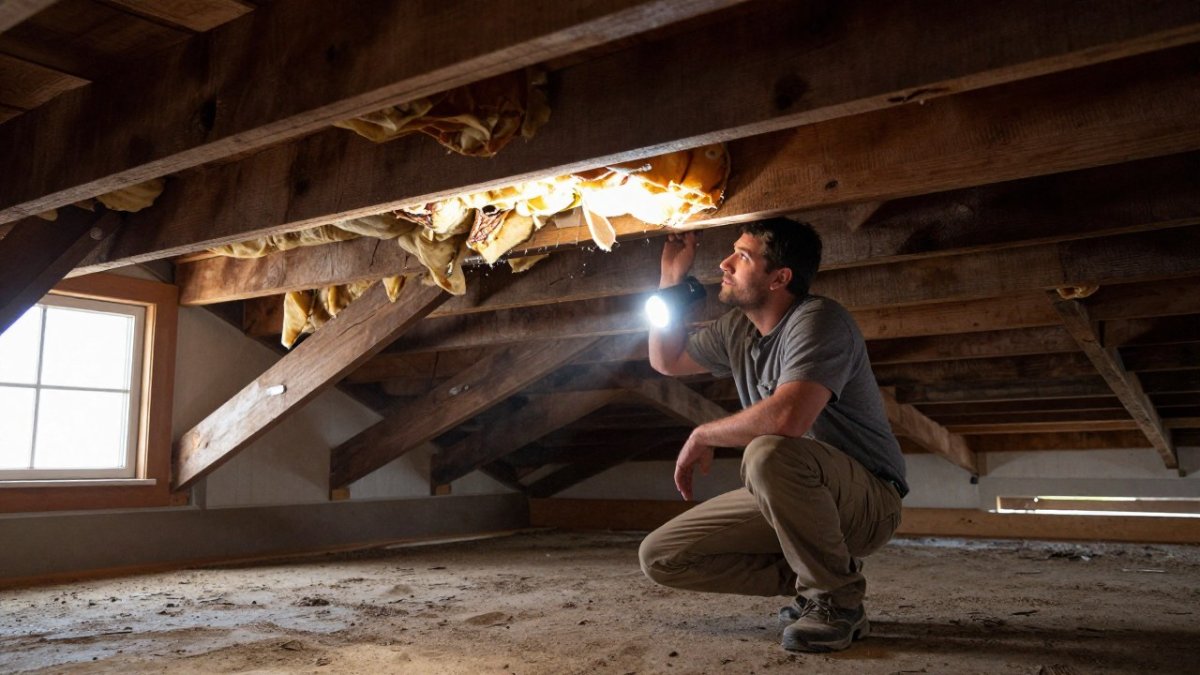
 How-to
How to Identify Roof Leaks From Inside the Attic
Table of Contents
- Why the Attic Shows Roof Leaks Before the Ceiling Does
- Signs of a Roof Leak in the Attic You Can Spot Today
- Attic Inspection Safety and Access Before You Climb In
- Tracing a Stain Uphill to the Actual Entry Point
- Telling a Roof Leak Apart From Condensation and Plumbing Leaks
- Using an Attic Leak Detector and Monitoring Over Time
- How to Fix a Roof Leak From Inside and What Repairs Cost
- Book a Roof Inspection With Certified Roofing Solutions Inc.
- Frequently Asked Questions
Why the Attic Shows Roof Leaks Before the Ceiling Does
Water rarely shows up on a ceiling first.
The roof deck, underlayment, and framing sit between the rain and your living space.
Why this matters: Catching a leak in the attic usually means a smaller repair.
This guide shows what to look for, how to stay safe, and how to trace water to its source.
Signs of a Roof Leak in the Attic You Can Spot Today
You don't need tools to find most leak signs. A good flashlight and about 15 minutes are enough. Work slowly and check the same spots after every heavy rain.
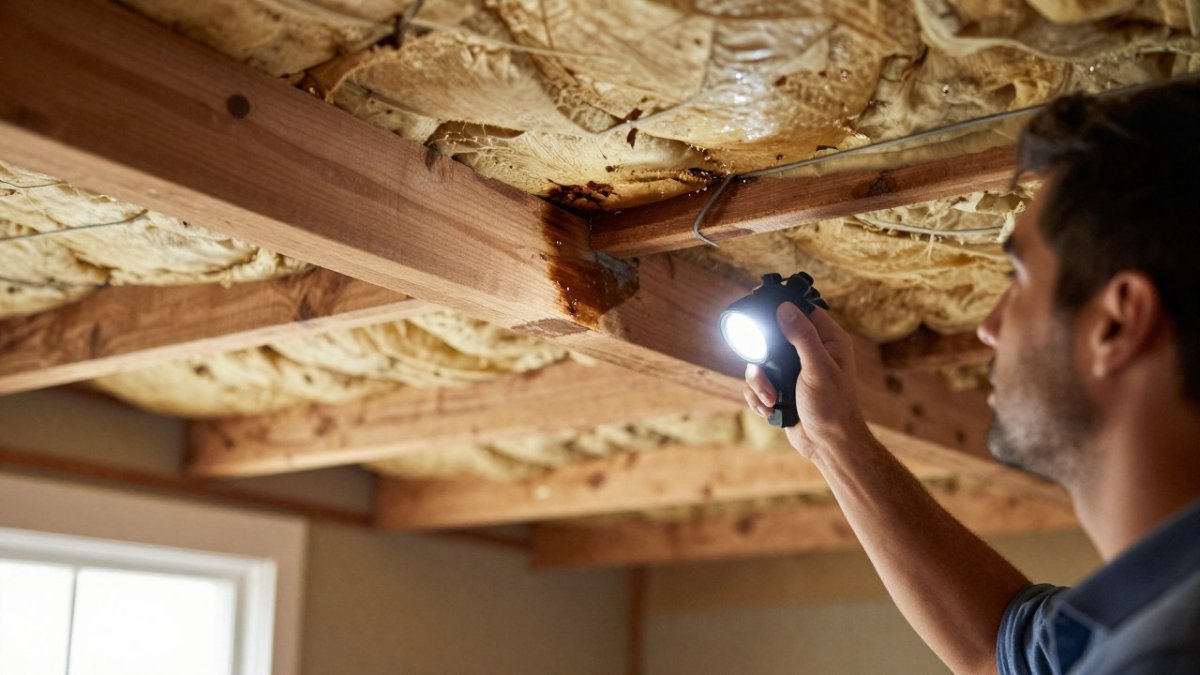
Water stains on sheathing, rafters and trusses
Look at the underside of the roof deck, usually OSB or plywood. Fresh leaks leave dark, irregular stains; older leaks leave rings with lighter centers, meaning the area has dried and wet again more than once.
Check rafters and trusses too. Stains along a single beam often point to water that traveled before dripping.
- Dark or black spots on the sheathing
- Tide-line rings that show repeated wetting
- Stains on the top edge of a rafter or truss
Wet insulation, soft wood and musty odors
Insulation is one of the best indicators because it holds water. Press a gloved hand into the batts. If they feel damp, compressed, or matted, water is getting in.
Wood tells the same story. Push a screwdriver into a suspect rafter or sheathing panel. If it sinks in easily or feels spongy, rot has likely started.
A musty smell is another warning sign.
Rusted or corroded roofing nails
Nails that poke through the roof deck are an overlooked clue. Look at the tips of the nails in the attic.
Rusted nails don't always mean an active leak, but they show where moisture has reached the wood.
The article lists the attic signs you can check in about 15 minutes with a flashlight, and how often to recheck them.
| Sign | What it looks like | Where to check |
|---|---|---|
| Water stains | Dark spots; rings with lighter centers mean repeated wetting | Roof deck, rafters, trusses |
| Wet insulation | Damp, compressed or matted batts; dry insulation fluffs back up | Insulation batts |
| Soft wood | Screwdriver sinks in easily or feels spongy | Suspect rafters or sheathing |
| Musty odor | Smell signals moisture has been present a while | Whole attic |
| Rusted nails | Rust, white crust or dark staining around nail heads | Nail tips in the attic |
| Timing | Recheck the same spots after every heavy rain | Marked spots |
Attic Inspection Safety and Access Before You Climb In
Attics are dangerous spaces. Many homeowners get hurt not from the roof but from stepping through a ceiling or falling from a ladder into the attic opening.
Follow these steps before you go up:
- Use a sturdy, properly placed ladder on a flat surface.
- Stay on the joists or the attic floor. Never step on the drywall between them.
- Wear a dust mask, since insulation and mold spores can irritate your lungs.
Watch out: Mold and wet insulation are unpleasant to breathe.
If the attic is very hot, cramped, or hard to reach, skip the inspection and hire someone trained for it.
Tracing a Stain Uphill to the Actual Entry Point
The stain you see is rarely directly under the hole.
Start at the wettest or darkest area and move uphill toward the peak. Water always runs downhill, so the stain's highest edge is usually the closest point to the source. Working this way is a key part of how to identify roof leaks from inside the attic. Look for these likely entry spots:
- Around chimneys, plumbing vents, and exhaust fans
- Where the roof meets a wall or a valley
- Around skylights and attic hatches
Once you find a possible entry point, check the roof from outside on a dry day. Look for lifted shingles, cracked sealant, or gaps in flashing.
A common mistake is assuming the leak is directly above the stain. Many homeowners patch the wrong spot, and the water keeps coming back.
Telling a Roof Leak Apart From Condensation and Plumbing Leaks
Not every wet spot in the attic comes from the roof. Condensation and plumbing leaks can look almost identical, and fixing the wrong problem wastes money while the real damage continues. Work through this short diagnostic sequence rather than guessing from a single stain.
Step 1: Note when the moisture appears
Timing is the strongest clue. Keep a simple calendar and mark every time you find wetness, a new stain, or a drip.
- Roof leak: appears during or within a day of rain, especially wind-driven rain. It often grows with each storm and may pause during dry spells.
- Condensation: appears in cold weather, typically on the coldest surfaces, the underside of the roof deck, nail tips, and the north-facing sheathing. It often disappears or dries as the day warms.
- Plumbing leak: appears on dry days, is often continuous or intermittent regardless of weather, and tends to sit near pipes, fixtures, or the water heater.
A common pattern is a stain that only shows up after a hard rain from the east or north. That points to wind-driven water entering at a flashing or vent on that side, not to a plumbing line.
Step 2: Look at the pattern and spread
Condensation is usually widespread and even, a broad damp sheen across the deck, frost on nail tips, or wet insulation near bath fans and dryer vents. Roof leaks are localized: a dark stain, tide-line ring, or wet patch following a rafter or penetration. Plumbing leaks are the most localized and often track a pipe run.
Step 3: Check the material and the touch
Press a gloved hand to the wet area. Condensation is usually a thin film on a cold surface. Roof-leak water soaks into wood and insulation and feels cold because it came from outside. Plumbing water may be warm from a hot-water line, and nearby fittings often show rust or mineral crust.
Step 4: Test for active versus old moisture
A moisture meter separates an old, dried stain from an active leak. Take a reading at the darkest part of the stain and compare it with a dry section of the same material nearby. A reading clearly higher than the dry baseline means moisture is still present. Repeat after the next rain, if it climbs, the roof is the source.
Step 5: Rule out the plumbing side
If the wet spot sits near a bathroom, kitchen, or water heater, shut off the fixtures in that area for a day and recheck. A plumbing leak will often keep weeping with the water off if the supply line is pressurized, or stop if it is a drain leak that only appears with use. Roof leaks are unaffected by fixture use.
Step 6: Confirm with a controlled check
On a dry day, run a garden hose on the roof above the suspect area for 10 to 15 minutes while a helper watches the attic. If water appears, the roof is the entry point.
Watch out: A single stain can have two causes, a small roof leak keeping the sheathing damp enough to grow mold, plus condensation from a bath fan venting into the attic. Fixing only one leaves the other active, so treat every confirmed source separately.
A simple summary: rain and wind point to the roof, cold mornings point to condensation, and dry days with fixture use point to plumbing.
Using an Attic Leak Detector and Monitoring Over Time
A moisture meter is the most useful tool for confirming an attic leak because it reads moisture inside wood and insulation before a stain is visible. Pin-type meters are the common choice for attic work: you press two pins into the suspect material and read a percentage. Pinless meters scan a wider area without leaving holes, which helps when you want to map a damp zone before probing it.
How to read a moisture meter in the attic
Take a baseline first. Press the pins into a dry section of the same material a few feet from the suspect area. Exact numbers vary by meter and species, so your own dry reading matters more than the absolute number.
- Probe the darkest part of the stain, then the edge, then a dry control spot.
- Wipe the pins between readings so debris does not skew the result.
- Mark each reading location with a small pencil dot and a date so you can re-probe the same spot later.
Build a rain-by-rain monitoring record
A single reading tells you moisture is present. A record tells you whether the leak is active, stable, or worsening, which is what a roofer needs to price the repair correctly.
- Photograph each stain with a ruler or coin in frame for scale, and date the photo.
- Pencil-mark the outer edge of every stain and write the date next to it.
- Log the weather since the last check: rainfall, wind direction, snowmelt, or a hard freeze.
- Recheck after the next significant rain and note whether the mark moved, the meter reading rose, or new staining appeared.
- Keep the log for several weeks, not one visit, so a dry spell does not read as a fix.
A common pattern is a stain that barely changes for weeks, then jumps after a storm from a specific direction. That jump narrows the entry point to a flashing or vent on that side of the roof.
Seasonal and weather clues to log
- Wind-driven rain: leaks that appear only in storms from one direction usually trace to a flashing, vent boot, or valley on that side.
- Snowmelt and ice dams: water that appears in late winter or after a freeze-thaw cycle often backs up under shingles at the eaves rather than entering through a hole.
- Cold snaps: widespread dampness and frost on nail tips during a cold snap points to condensation, not a roof leak.
What to hand your roofer
A dated photo set, the pencil-mark timeline, and meter readings at each marked spot give a roofer a map of where water has reached and how fast it is spreading, often shortening the exterior inspection.
Watch out: Do not seal or paint over a stain before the source is confirmed. Covering the evidence removes the timeline a roofer uses to trace the entry point, and trapped moisture keeps rotting the wood underneath.
How to Fix a Roof Leak From Inside and What Repairs Cost
An interior fix can stop damage while you arrange a permanent repair, but it does not fix the source. Basic steps homeowners often take: Check whether your commercial TPO roof problem needs repair.
- Place a bucket or tarp under the drip to protect floors.
- Move insulation away from the wet area and let it dry if possible.
- Dry the affected wood with fans or a dehumidifier.
- Mark the entry point and photograph it for your roofer.
- Call a professional to repair the roof surface.
For the roof itself, repair costs depend on the material, the size of the damaged area, how steep the roof is, and whether the decking needs replacing.
Book a Roof Inspection With Certified Roofing Solutions Inc.
If you've found any of these signs, don't wait for the next storm. Learn how to spot roof flashing damage before it causes an attic leak, and read about how wet insulation shows water damage. If the moisture might be condensation, our guide on fixing attic condensation in winter can help you rule it out. When you're ready for a professional look, spot the signs you need roof repair services in Marietta and schedule an appointment with Certified Roofing Solutions Inc.
Last Updated: November 7, 2026
Frequently Asked Questions
How do I know if my roof is leaking from inside the attic?
Look for water stains on roof sheathing, rafters and the underside of the decking, especially after rain. Damp or compressed insulation, dark or soft wood, a musty smell and rusted nail tips are also strong signs. Check during or right after a storm, when active dripping is most likely. If you see any of these, schedule an inspection so a professional can confirm the source before the damage spreads.
Can you have a roof leak and not know it?
Yes. Water can travel along rafters or decking before it shows up on a ceiling, and a small leak may only leave a faint stain in the attic. Slow leaks often go unnoticed until wood rots or mold develops. Periodic attic checks, especially after heavy rain or high winds, help you catch problems early and limit repair costs.
Where should I look for water stains in an attic?
Start at the roof deck directly above ceiling stains, then check around plumbing vents, chimneys, skylights and roof valleys, since these are common leak points. Inspect the rafters and the top of wall plates as well. Stains often look darker near the entry point and lighter as water spreads outward. Use a flashlight and check on a dry day and after rain for comparison.
What should I do if I find water in my attic?
Keep your distance from any wet insulation or ceiling sections that look sagging, and turn off power to nearby fixtures if water is near them. Place a bucket or tarp to protect belongings and take photos for insurance documentation. Then have a roofing professional inspect the area and recommend a temporary or permanent repair to prevent further damage.