 How-to
Commercial Roof Repair Project Planning: A Step-by-Step Guide
Last Updated: November 6, 2026
Quick Summary
A commercial roof repair project starts with a documented roof inspection, then a written scope of work built around specific defects, not general language. Get the scope in writing before requesting bids so every contractor prices the same document. Plan the timeline, permits, insurance coordination, and closeout verification before work begins.
- Walk the roof in daylight and photograph every defect with a location reference.
- State each defect, repair method, quantities, exclusions, and warranty terms in the scope.
- Build a bid leveling sheet to compare what each bid includes, excludes, and prices.
- Document storm damage with photos and dates, and file the claim before repairs start.
- Set follow-up inspections at roughly 90 days and before the first heating season.
Table of Contents
- Assessing Your Commercial Roof and Defining Project Objectives
- Building Your Commercial Roof Repair Scope of Work
- Repair vs. Replacement: A Decision Framework for Property Managers
- Budgeting, Bids, and Contract Evaluation
- Navigating Permits, Codes, and Insurance Coordination
- The Commercial Roofing Project Timeline and Contingency Planning
- Managing Building Operations, Occupants, and Safety During Repairs
- Your Commercial Roofing Project Checklist for Post-Repair Verification
- Frequently Asked Questions
Assessing Your Commercial Roof and Defining Project Objectives
A commercial roof repair project starts with a clear-eyed look at the roof you already have. Too many property managers skip this step and pay for it later. This guide walks through the full planning sequence, from the first inspection to the final sign-off.
The goal of assessment is simple: know exactly what is wrong before you spend a dollar. That means getting on the roof, not just glancing at it from the parking lot.
The Commercial Roof Inspection Checklist
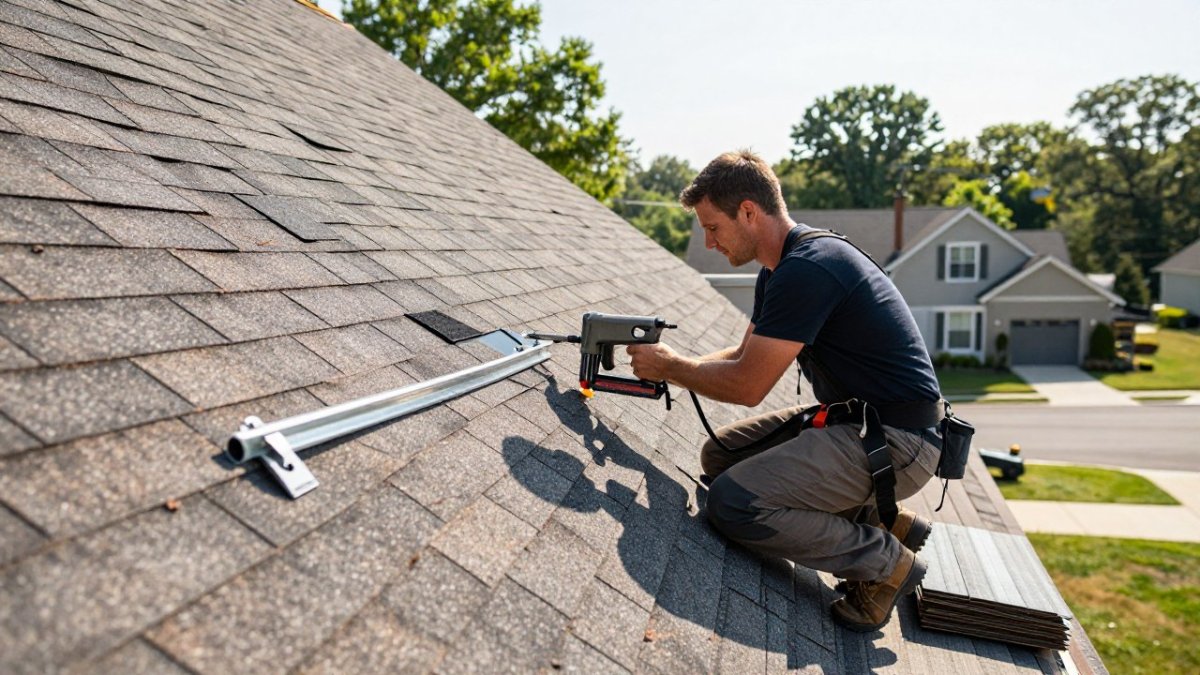
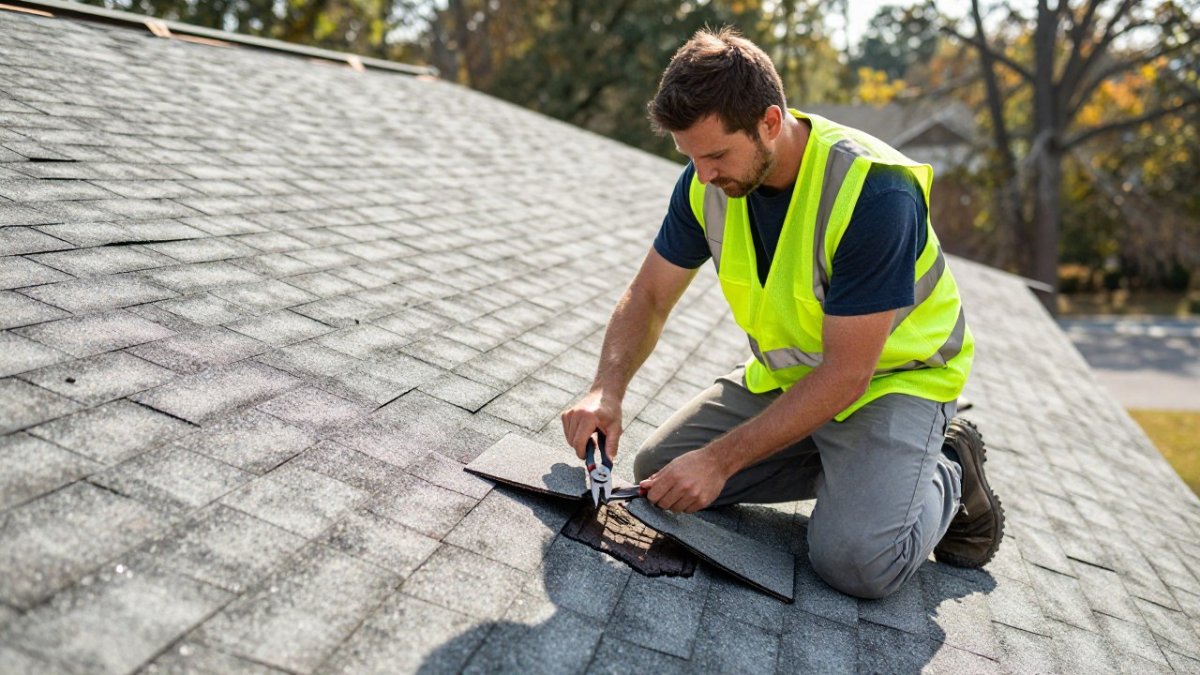
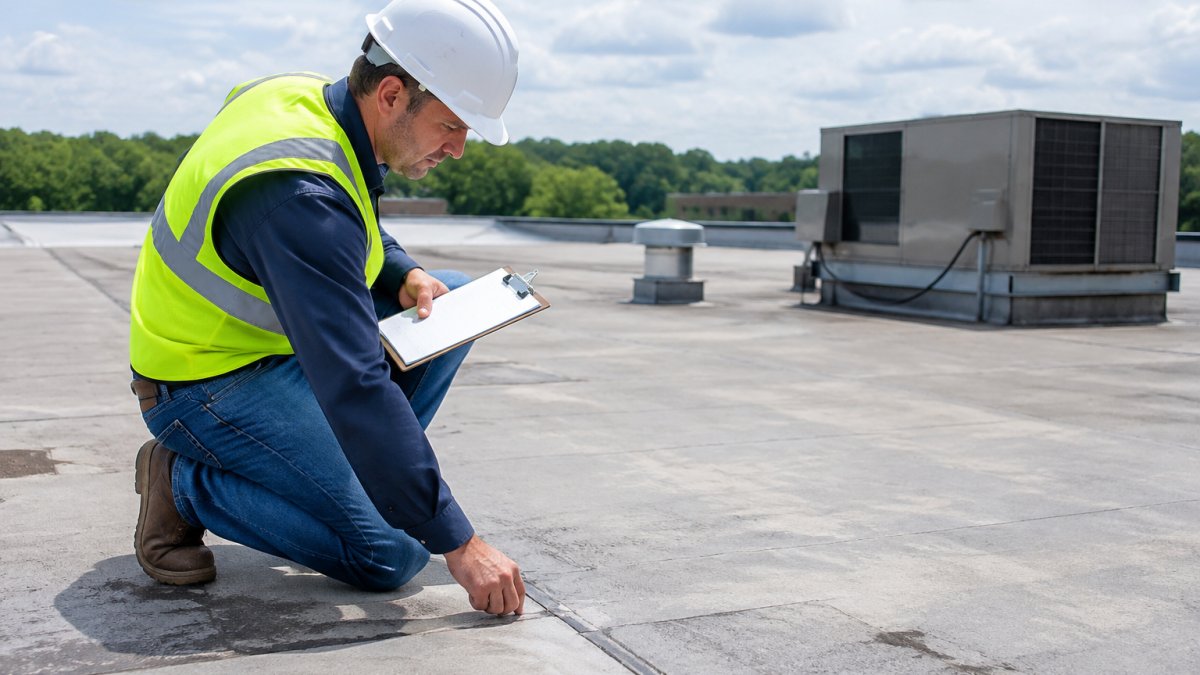
A commercial roof inspection checklist keeps the assessment consistent and documented. Walk the roof in daylight and record what you find.
- Check membrane seams and field for splits, blisters, or punctures
- Inspect flashing at walls, curbs, and penetrations
- Look for ponding water or poor drainage
- Test roof drains, scuppers, and gutters for blockages
- Examine HVAC curbs and equipment supports
- Photograph every defect with a location reference
Document everything. Photos and notes become the backbone of your scope of work and any insurance claim. For a deeper walkthrough, see our commercial roof inspection checklist for TPO.
Building Your Commercial Roof Repair Scope of Work
The commercial roof repair scope of work is the document that controls cost, schedule, and disputes. A vague scope invites change orders.
Write the scope around specific defects, not general language. "Repair roof" means nothing.
Your scope should state:
- Each defect and its exact location
- The repair method and materials specified
- Quantities and measurements
- What is excluded
- Cleanup and debris removal responsibilities
- Warranty terms on labor and materials
Get the scope in writing before you request bids. Every contractor should price the same document. That is the only way to compare bids fairly.
Repair vs. Replacement: A Decision Framework for Property Managers
Repair versus replacement comes down to three questions: how old is the roof, how widespread is the damage, and what does the budget allow? Answer those honestly and the decision usually makes itself.
Use this framework:
| Situation | Recommended Path | Why |
|---|---|---|
| Isolated damage, roof under half its service life | Targeted repair | Lowest cost, fast turnaround |
| Widespread wear, roof near end of life | Replacement | Repair money gets wasted |
| Sound deck, failing surface | Restoration or coating | Extends life at lower cost |
| Active leaks with unknown extent | Full assessment first | Hidden damage changes the math |
A common mistake is patching a roof that is already past its useful life. Our guide on when to repair or replace your roof breaks down the call in more detail.
Budgeting, Bids, and Contract Evaluation
Budgeting starts with the scope, not a guess. Build your estimate from the line items in the scope of work, then add a contingency for hidden damage.
Expect the unexpected. Build a contingency into the repair budget to cover hidden damage. For a fuller picture of what drives cost, read our breakdown of commercial roof repair costs and what to expect.
What Actually Drives Repair Cost
Repair budgets move on a handful of variables, and knowing them helps you sanity-check bids:
- Access and height. A low-slope roof reached by interior stair or roof hatch prices differently than one requiring a boom lift, crane, or swing stage over occupied space.
- Wet insulation and decking. Once moisture is confirmed, removal and replacement of saturated insulation or rotted deck adds material, disposal, and labor that no one can see from the surface.
- Membrane type and matching. TPO, EPDM, PVC, modified bitumen, and built-up roofs each carry different seam and flashing methods, and matching an existing membrane color or thickness can affect lead time.
- Penetration density. Every HVAC curb, vent, pipe boot, and skylight is a flashing detail. A roof crowded with equipment takes longer per square than a clean field.
- After-hours and occupied-building work. Night and weekend scheduling, interior protection, and phased access all carry labor premiums.
Leveling Bids So You Compare Apples to Apples
When bids come in, compare more than the bottom line. The practical move is to build a bid leveling sheet: list every scope line item down the left column and each contractor across the top, then record what each bid includes, excludes, and prices.
Evaluate each bid on:
- Line-item pricing against your scope, not just a lump sum
- Contractor licensing and insurance certificates, including general liability and workers' compensation limits
- References on similar commercial repair work, not just new construction
- Warranty terms and who honors them, manufacturer versus installer
- Change order process, markup, and who authorizes field changes
- Payment milestones tied to completed work, not calendar dates
The lowest bid is rarely the cheapest project. Ask what is excluded, and ask how hidden damage gets priced. Our guide to key factors in choosing a commercial roof repair company covers the vetting criteria in full.
Contract Terms That Protect the Owner
A repair contract should define acceptance criteria before work starts. Spell out what "complete" looks like, a water test on the repaired area, a documented seam probe, or a signed punch list, so final payment is tied to a verifiable result rather than a handshake.
Watch out: a contract that prices hidden damage as time-and-materials with no cap or prior written authorization can turn a modest repair into an open-ended invoice. Require written approval before any change order proceeds.
Navigating Permits, Codes, and Insurance Coordination
Permits and codes are where planning projects stall. Check local building department requirements before work begins.
Insurance coordination runs in parallel. If storm damage is involved, document the damage with photos and dates before repairs start. File the claim early. Keep every receipt and inspection report, because adjusters want a paper trail.
Watch out: starting repairs before an adjuster inspects the damage can affect your claim. Get approval in writing first.
The Commercial Roofing Project Timeline and Contingency Planning
A commercial roofing project timeline maps each phase so you can plan around it. Most repair projects follow a predictable sequence, though weather can shift dates.
- Assessment and scope: one to two weeks
- Bidding and contract: one to two weeks
- Permits and materials ordering: one to three weeks
- Crew scheduling and mobilization: one week
- Repair work: days to weeks, depending on scope
- Inspection and closeout: one week
Build weather contingency into the schedule. Rain and high winds stop roof work, and spring and fall storm seasons cost you days.
Hidden damage is the other wildcard. When crews open a roof and find rotted decking or saturated insulation, the scope changes.
Managing Building Operations, Occupants, and Safety During Repairs
Keeping the building running during repairs takes coordination, not luck. Notify tenants and staff of the schedule, work hours, and any access restrictions.
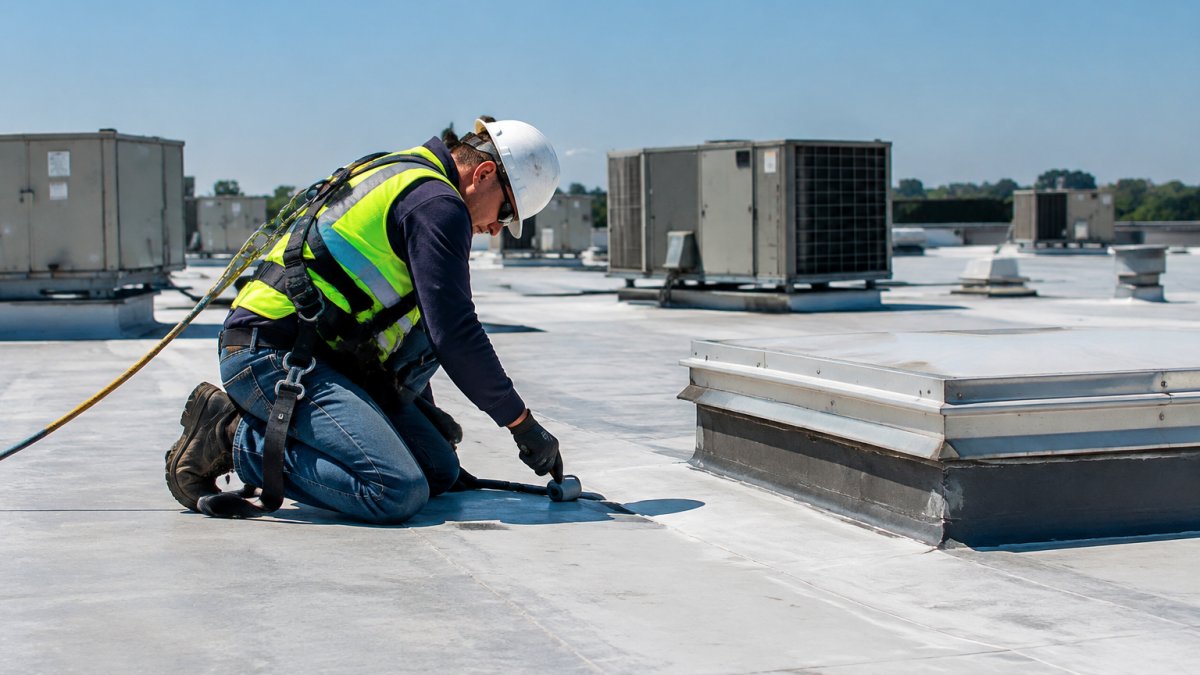
Safety is non-negotiable. Crews must follow fall protection rules, and site access should be controlled. Ask for the contractor's safety plan before mobilization.
Plan for downtime. Schedule noisy work outside business hours where possible, and protect interior spaces below active work.
Your Commercial Roofing Project Checklist for Post-Repair Verification
The final step is verification. Do not pay the final invoice until you have confirmed the work matches the scope. A commercial roofing project checklist for closeout keeps you protected, and it is where most planning guides stop short. This section goes further: it treats closeout as the point where you prove the repair performed, not just that the crew left.
The Closeout Walkthrough
Walk the roof with the project manager in daylight, using the same defect list from your original assessment as the agenda. Confirm each item is resolved at the location it was documented.
- Walk the roof with the project manager
- Confirm every scope item is complete against the original defect list
- Check that flashing and seams are sealed and properly terminated
- Verify debris removal, fastener sweep, and site cleanup
- Confirm drains, scuppers, and gutters flow freely
- Collect warranty documents in writing
Leak Testing and Punch Lists
Where the repair involved seams, flashings, or penetrations, ask how the contractor verified watertightness. Methods range from a visual seam probe to flood testing of a localized area to electronic leak detection on certain membrane systems.
Build a written punch list during the walkthrough. Each item gets a location, a description, an owner, and a due date. Do not release retainage until the punch list is closed and re-inspected.
Documentation to Collect Before Final Payment
Closeout paperwork is what protects you if a leak reappears in year two. Collect:
- Manufacturer and installer warranty documents, with start dates and transferability terms
- As-built photos of every repaired area, labeled by roof zone
- Material submittals and product data sheets for membrane, flashing, and sealant used
- Inspection reports and any permit sign-offs from the authority having jurisdiction
- A completion report noting deviations from the original scope and approved change orders
- The contractor's final lien waiver and a list of subcontractors and suppliers
Measuring Whether the Repair Worked
A repair is only as good as its performance over the next several months. Track a small set of measures so you can hold the contractor accountable and plan the next budget cycle:
- Callback rate. Count return visits for the same defect within the warranty period. A pattern of repeat callbacks on the same area signals a workmanship issue, not bad luck.
- Leak recurrence. Log every interior leak report with date, location, and the roof zone above it. Recurrence in a repaired zone is the clearest failure signal.
- Schedule and change-order variance. Compare actual completion and final cost against the approved scope and timeline. A high change-order rate on a repair project usually means the original assessment missed concealed damage.
- Disruption hours. Track hours of tenant-visible noise, access closures, or parking loss against what was planned. It informs how you schedule the next project.
Set a follow-up inspection at roughly 90 days and again before the first heating season, when thermal movement stresses seams and flashings. When you are ready to move from planning to execution, contact Certified Roofing Solutions Inc. to book an appointment.
Planning a commercial roof repair without the right crew is a gamble most property managers cannot afford. At Certified Roofing Solutions Inc., we handle the assessment, scope, and repair so your building stays dry and your tenants stay open.
Frequently Asked Questions
What should a commercial roof repair project checklist include?
A solid checklist covers the full project lifecycle: inspection findings and photo documentation, a written scope of work, at least three contractor bids, permit and code requirements, insurance notification, a schedule with weather contingency days, site access and safety plans, occupant notification steps, and a closeout process with a completion inspection and warranty paperwork. Review the checklist at every project milestone so nothing gets skipped between the assessment phase and final sign-off.
How long does a commercial roof repair project take?
Most commercial roof repairs run from a few days to several weeks, depending on the size of the repair area, material availability, and weather. A small membrane patch may finish in one or two days, while larger restoration work involving insulation replacement can stretch to three or four weeks. Build weather contingency days into the schedule, since rain and high winds stop work on low-slope roofs. Ask your contractor for a written timeline with milestones before signing.
How can businesses minimize disruption during commercial roof repairs?
Schedule noisy or disruptive work outside peak business hours, ask the crew to stage materials away from entrances and customer parking, and set up clear interior protection under the work zone to catch debris. Notify occupants and tenants in advance with a written schedule, designate a point of contact for questions, and confirm daily cleanup so debris does not accumulate. A contractor experienced with occupied buildings will build these steps into the plan from day one.
What is the 25% rule in roofing?
Roofing repairs can be subject to local code and insurance policy requirements, which vary by jurisdiction and policy language. Confirm the requirements with your local building department and insurer before approving a partial repair.