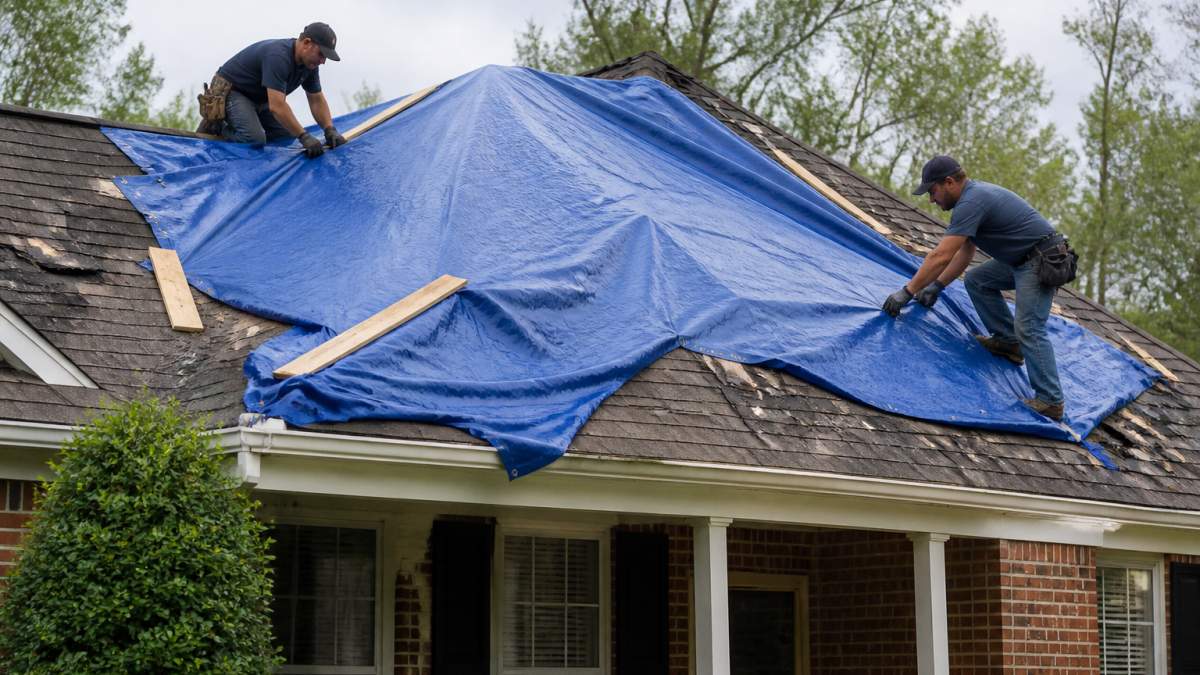
 how-to
Commercial Roof Inspection Checklist for TPO: Step-by-Step Guide
Table of Contents
- Why Regular Commercial Roof Inspection Matters for TPO Systems
- Commercial Roof Inspection Frequency: How Often to Check Your TPO Roof
- Pre-Inspection Safety and Preparation
- Step-by-Step TPO Membrane Inspection Checklist
- Inspecting Flashing, Penetrations, and Roof Terminations
- TPO Roof Maintenance Checklist: Drainage, Drains, and Ponding Water
- Parapet Walls, Edge Details, and High-Traffic Areas
- Creating Your Commercial Roof Inspection Report and Template
- Frequently Asked Questions
Last Updated: October 8, 2026
Why Regular Commercial Roof Inspection Matters for TPO Systems
A commercial roof inspection checklist for TPO is essential for protecting your building and avoiding costly water damage. TPO (thermoplastic polyolefin) membranes are durable, but they require regular attention to catch problems early.
Routine inspections prevent emergencies. Small tears become major leaks. Seam failures go unnoticed until water enters your building. Drainage problems create standing water that degrades the membrane faster.
The real value of inspection is this: you find issues when they're cheap to fix, not when they've already damaged your interior.
Regular inspections also protect your warranty. Most TPO manufacturers require documented maintenance to honor coverage. Without records, you have no proof you maintained the roof properly when a claim comes due.
Commercial Roof Inspection Frequency: How Often to Check Your TPO Roof
How often you inspect depends on your roof's age, weather exposure, and traffic.
After severe weather (hail, high winds, heavy snow), inspect immediately. Don't wait for the next scheduled check. Storm damage spreads quickly if left untreated.
Newer TPO roofs (under 5 years old) can shift to annual inspections if the first two years show no problems.
High-traffic roofs with HVAC units, foot traffic, or equipment need more attention. These areas wear faster than open membrane sections.
Inspection schedule by roof age:
- Years 0-2: Twice yearly (spring, fall)
- Years 3-10: Twice yearly minimum
- Years 10+: Quarterly or more frequently
- After storms: Immediately
Pre-Inspection Safety and Preparation
Fall Protection and Safe Inspection Boundaries
Never inspect a roof alone. Always have a second person present for safety and to help document findings.
Wear proper fall protection if your roof height exceeds 6 feet. A harness, anchor point, and lanyard are non-negotiable.
Stay away from roof edges. Keep at least 6 feet back from the perimeter unless you're actively inspecting flashing.
Watch for soft spots or areas where the membrane feels spongy. These indicate water trapped beneath the surface.
Never walk on wet TPO. Wait for it to dry completely.
Tools and Documentation You'll Need
Bring these tools on every inspection:
- Flashlight or headlamp, You'll need bright light to see seams, small tears, and discoloration clearly
- Measuring tape, Document the size of damage (length, width, depth)
- Binoculars, Inspect high areas and distant sections without climbing
- Smartphone or camera, Take photos of every defect with timestamp and location
- Clipboard and pen, Write notes in real time while on the roof
- Inspection checklist template, Use a printed form to stay organized
- Magnifying glass, Examine seams and small damage up close
- Probe or screwdriver, Test membrane firmness (don't puncture)
Print a commercial roof inspection checklist template before you go up. Don't rely on memory. Write down location, size, type of damage, and severity for each issue found.
Step-by-Step TPO Membrane Inspection Checklist
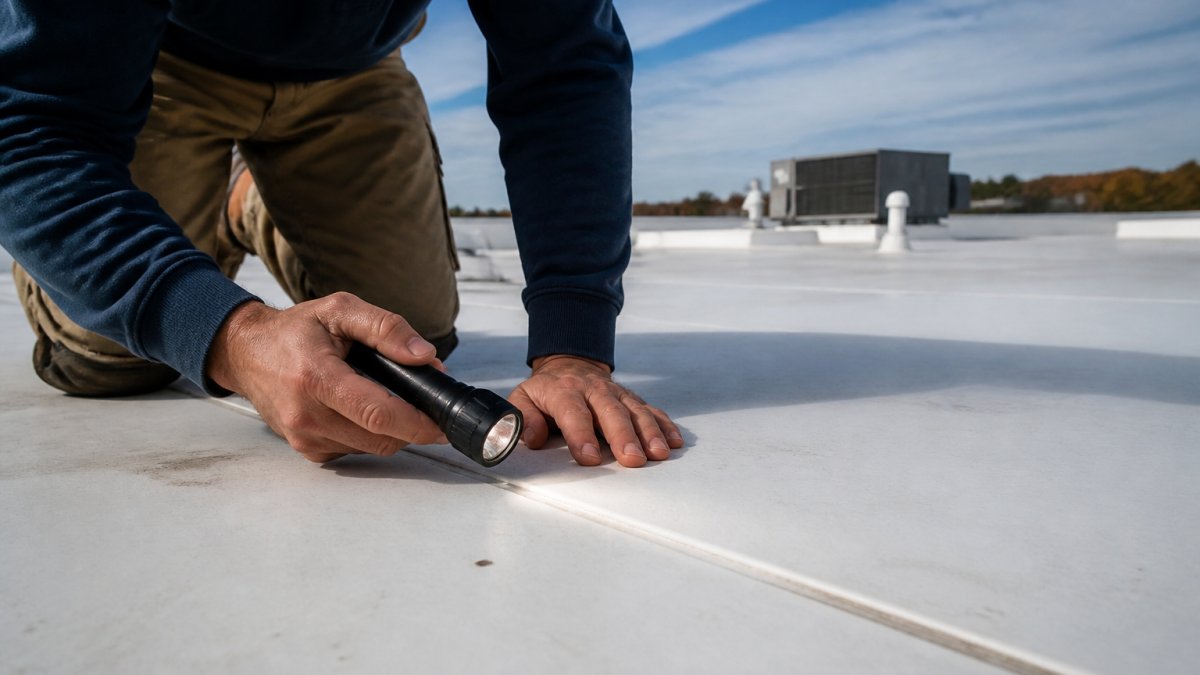
Inspect Surface Condition and Weathering
Start by looking at the overall membrane condition from a distance. Walk the entire roof systematically, moving in a grid pattern so you don't miss areas.
TPO naturally shows weathering over time. The membrane may fade or become slightly chalky. This is normal aging and doesn't require repair.
Check for scuffs, marks, or areas where the membrane looks thin or worn. High-traffic zones near HVAC units, walkways, or equipment pads wear faster.
Look for algae growth, dirt buildup, or debris. While not damage itself, debris traps moisture and accelerates aging.
What to document:
- Color fading or discoloration (note location and size)
- Surface cracks or crazing (small surface cracks)
- Brittleness or loss of flexibility
- Algae or mold growth
- Dirt or debris accumulation
Check for Punctures, Tears, and Cracks
Punctures are the most common TPO damage. They're often small, the size of a pencil point, but they allow water in immediately.
Walk slowly and look down at the membrane surface. Punctures catch light differently than intact membrane.
Tears are larger than punctures. They may be straight cuts from sharp objects or irregular rips from impact. A 1-inch tear needs repair.
Cracks are lines in the membrane surface. Small surface cracks (crazing) are cosmetic.
Test suspicious areas by pressing gently with your finger.
Damage severity guide:
- Small puncture (under 1 inch): Schedule repair within 30 days
- Tear (1-6 inches): Schedule repair within 7 days
- Large tear (over 6 inches): Repair immediately or cover with temporary patch
- Multiple punctures in one area: Likely indicates foot traffic damage; consider protective pads
Evaluate Welded Seams and Cold-Weld Integrity
Seams are where two pieces of TPO membrane join. Most commercial roofs have dozens of seams.
Walk along every seam systematically. Look for separation, lifting, or visible gaps.
Feel along the seam with your hand. A proper weld is smooth and solid. A failing seam may feel soft, wavy, or loose.
Cold welds (adhesive seams instead of heat-welded) are common in repairs and on some original installations.
Look for white residue or discoloration along seams. This can indicate the sealant is breaking down.
Seam inspection checklist:
- Check for separation or gaps between membrane pieces
- Feel for soft spots or loose areas
- Look for visible cracks or tears at the seam
- Test cold welds more frequently than heat welds
- Document any seam issues with photos
Inspecting Flashing, Penetrations, and Roof Terminations
Flashing is where the TPO membrane meets vertical surfaces, pipes, vents, and other penetrations.
Check where the membrane meets the parapet wall. The flashing should be sealed tightly. Look for gaps, cracks, or separation.
Inspect every pipe, vent, and equipment penetration. The membrane around these must be sealed.
Look at the roof perimeter termination, where the membrane ends at the edge. It should be sealed and protected. Exposed edges allow water and wind to penetrate.
Check for pooling water near penetrations. Water sitting against flashing accelerates deterioration.
Flashing checklist:
- Parapet wall transitions (sealed and no gaps)
- Pipe and vent penetrations (sealant intact)
- HVAC unit bases (no gaps or separation)
- Roof edge terminations (sealed and protected)
- Sealant condition (no cracks, shrinkage, or missing sections)
TPO Roof Maintenance Checklist: Drainage, Drains, and Ponding Water
Drainage problems are serious on TPO roofs. Water that sits on the membrane instead of draining causes accelerated aging and eventual failure.
Walk the roof after rain or snow melt. Look for areas where water pools and sits.
Check every roof drain. Make sure it's clear of debris. Leaves, dirt, and sediment clog drains and cause backup.
Look for low spots or areas where the membrane has settled. These create natural collection points for water.
Check gutters and downspouts if they're part of your roof system.
Drainage inspection items:
- Roof drains clear and flowing
- No ponding water visible
- Gutters and downspouts functioning
- Membrane slope directing water toward drains
- No debris blocking drainage paths
Parapet Walls, Edge Details, and High-Traffic Areas
Parapet walls are the vertical sections at the roof edge.
Check the membrane where it meets the parapet. It should be sealed and protected.
Inspect the top edge of the parapet.
High-traffic areas, walkways, near HVAC units, around equipment, show accelerated wear. The membrane thins faster here.
Consider installing protective pads or walkway systems in high-traffic zones. This reduces damage and extends roof life.
Look at the perimeter edge. It should be finished cleanly with metal trim or edge protection.
Parapet and edge checklist:
- Membrane sealed at parapet connection
- No separation or gaps at vertical transitions
- Edge protection in place and secure
- High-traffic areas inspected closely
- Walkway or protective pads where needed
Creating Your Commercial Roof Inspection Report and Template
Using a Commercial Roof Inspection Checklist Template
A good commercial roof inspection checklist template keeps you organized and creates a record for your files and warranty claims.
Your template should include:
- Roof location and address
- Inspection date and time
- Inspector name and company
- Weather conditions (dry, wet, temperature)
- Membrane condition (overall rating: good, fair, poor)
- Specific defects found (location, type, size, photo reference)
- Seam condition (areas inspected, any issues noted)
- Drainage assessment (drains clear, ponding present, gutters functional)
- Flashing and penetrations (condition of each area)
- Parapet and edge condition
- Recommended repairs (what needs fixing and when)
- Next inspection date
Take photos of every defect. Label them with location and date. Attach them to your report.
Write clear, specific notes. "Seam failure at north parapet" is better than "seam issue." "1-inch puncture at center roof, near HVAC unit #2" is better than "puncture found."
Keep copies in your building file. If you hire a contractor, give them a copy so they know what was found.
Defect Severity and Repair Prioritization
Not every defect requires immediate repair. Prioritize based on severity and risk.
Priority 1 (Repair immediately):
- Seams that are separating or lifting
- Tears larger than 6 inches
- Flashing that's visibly failing or allowing water in
- Active leaks or water intrusion inside the building
- Multiple defects in the same area
Priority 2 (Repair within 30 days):
- Small tears (1-6 inches)
- Isolated punctures
- Cold welds showing separation
- Sealant failures at penetrations
- Minor flashing issues
Priority 3 (Schedule at next maintenance cycle):
- Surface cracks or crazing (cosmetic damage)
- Small punctures under 1 inch
- Minor weathering or discoloration
- Algae or dirt buildup
- Areas to monitor but not yet failing
Document severity in your report. This helps contractors prioritize work and prevents them from quoting repairs you don't need yet.
When you find multiple small issues in one area, bundle them into one repair.
Track repairs over time. If you're fixing the same area repeatedly, the underlying issue may be poor drainage, foot traffic, or design problems.
Your commercial roof inspection checklist for TPO is your first line of defense against leaks and premature failure.
Frequently Asked Questions
How often should a commercial TPO roof be inspected?
Most manufacturers recommend inspecting commercial TPO roofs at least twice per year: once in spring and once in fall. After severe weather events like storms or high winds, inspect immediately. For roofs in high-traffic areas or with equipment on them, quarterly inspections help catch problems early. Regular inspections prevent small issues from becoming costly water intrusion and interior damage. Document each inspection to maintain warranty compliance and track the roof's condition over time.
What are common problems found during a TPO roof inspection?
Common TPO roof issues include punctures and tears from foot traffic or debris, failed welded seams or cold welds that separate, ponding water that leads to deterioration, flashing failures around penetrations, and weathering or scuffing of the membrane. High-traffic areas near HVAC units show accelerated wear. Seam failures are particularly problematic because they allow water intrusion into the roof structure. Early detection through regular inspection prevents these issues from causing structural damage, mold growth, and operational downtime for commercial properties.
What should be included in a commercial roof inspection report?
A comprehensive commercial roof inspection report should document the roof age, overall membrane condition, photographs of problem areas, specific defects with locations, seam integrity findings, drainage and ponding observations, flashing and penetration conditions, and equipment placement. Include the inspection date, weather conditions, and any interior water damage signs observed. Prioritize defects by severity and recommend repair timelines. The report serves as a baseline for tracking the roof's condition, supports insurance claims, and helps property managers plan maintenance budgets. Keep records to demonstrate preventive maintenance efforts.
How do you inspect seams on a TPO roof?
Inspect TPO seams by visually examining the weld line for separation, gaps, or discoloration that indicates a cold weld. Run your hand along seams to feel for raised edges or voids. Use a flashlight to check for dirt, debris, or moisture trapped under the seam. Press gently on the seam to check adhesion; properly welded seams should not lift or flex. Document any areas where the seam appears compromised. Failed seams are the most common cause of water intrusion in TPO roofs, so seam inspection is critical to preventing leaks and extending roof lifespan.