 how-to
Emergency Roof Tarping Tips After Storm Damage
Table of Contents
- Emergency Roof Tarping Tips After Storm Damage: What to Do First
- Assessing Damage Safely From the Ground
- Documenting Damage Before You Cover Anything
- Tools and Materials You Need for Emergency Roof Tarping
- Roof Tarping Safety Precautions You Cannot Skip
- Step-by-Step: How to Install a Tarp on Your Roof
- How Long Can a Tarp Stay on a Roof?
- Post-Tarping Maintenance and Monitoring
- When to Call for Emergency Roof Repair Services
- Frequently Asked Questions
Last Updated: October 2, 2026
Emergency Roof Tarping Tips After Storm Damage: What to Do First
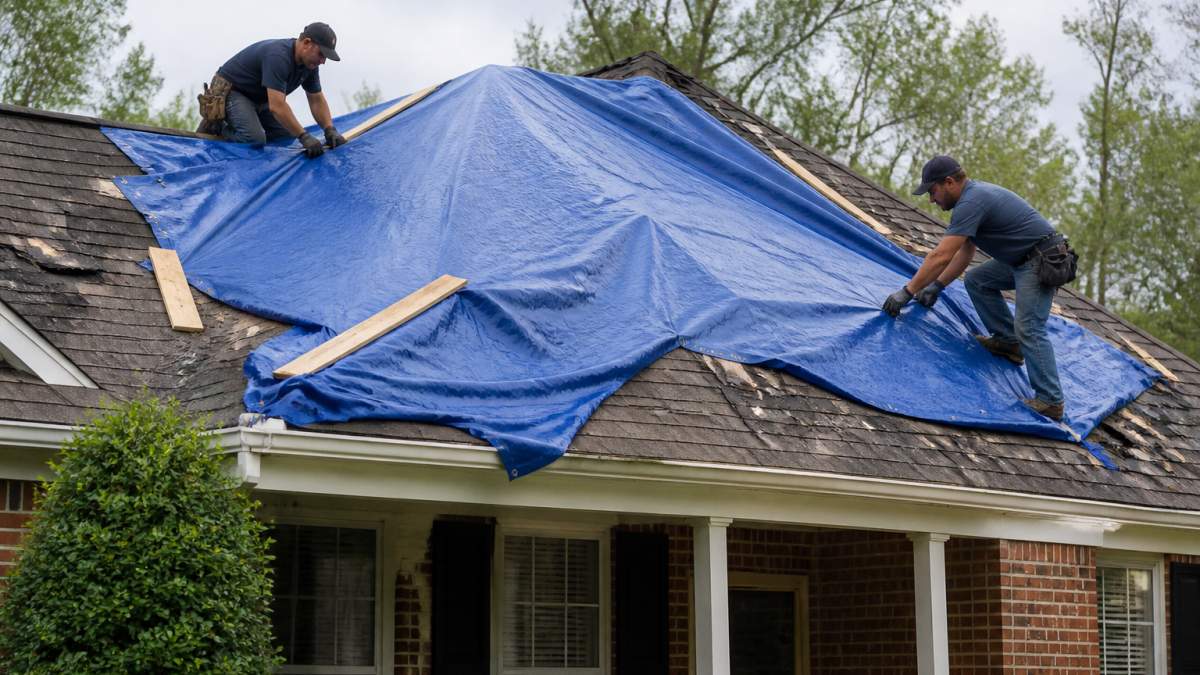
When a storm tears shingles off your roof, the clock starts ticking. Every hour of exposed roof decking raises the odds of water damage inside your home. Emergency roof tarping is the practice of covering a damaged roof with a heavy-duty tarp to block rain and stop moisture intrusion until permanent repairs can begin. This guide from Certified Roofing Solutions Inc. walks you through the safest, fastest way to protect your home.
The goal is simple: keep water out, stay off the roof if you can, and document everything before you touch a thing. Below, we'll cover how to assess damage from the ground, what tools you need, how to install a tarp step by step, and when to hand the job to a licensed contractor.
Assessing Damage Safely From the Ground
Start with binoculars, not a ladder. Most storm damage is visible from your yard, and staying grounded keeps you out of danger while you plan.
Walk the perimeter of your home and look for these signs:
- Missing, curled, or lifted shingles
- Granules piled in gutters or at downspout outlets
- Dents in gutters, vents, or flashing
- Cracks in chimney caps or skylights
- Water stains on ceilings or attic rafters
The FEMA guide to post-storm safety recommends treating any downed power line, sagging roofline, or structural crack as a professional-only situation. If you spot any of those, stop and call for help.
Also check the attic if it's safe to enter. A flashlight beam across the rafters will show you active leaks fast. Look for dark streaks, dripping water, or daylight coming through the roof boards.
Documenting Damage Before You Cover Anything
Take photos before you place a single tarp. Your insurance adjuster needs to see the damage as it was, not as you covered it.
Here's what to capture:
- Wide shots of each roof slope from the ground
- Close-ups of missing shingles, dents, and cracks
- Interior ceiling stains and attic leaks
- Any damaged gutters, siding, or windows
- A shot that includes a date reference, like a newspaper
The Insurance Information Institute's storm claim guidance notes that clear, dated photos speed up claim adjustment and reduce disputes. Store copies in the cloud, not just on your phone.
Tools and Materials You Need for Emergency Roof Tarping
You need more than a tarp. A proper anchoring system keeps the cover in place when the next gust hits.
Gather these items before you climb:
- Heavy-duty polyethylene tarp, sized to overhang each edge by 3-4 feet
- 2x4 lumber cut to length for weighted edges
- 1x4 or 2x4 furring strips for fastening
- Roofing nails or cap nails with plastic washers
- Hammer, utility knife, and a staple gun
- Safety harness, non-slip boots, and gloves
- A helper to spot the ladder
Choosing the Right Tarp Size and Material
Buy a tarp that covers the damaged area plus at least 3 feet of overhang on every side. Overlap matters more than exact fit.
For material, look for these specs:
- Polyethylene tarp rated 10 mil or thicker for UV resistance
- Reinforced grommets spaced every 2-3 feet
- A color that contrasts with your roof for easy visibility
| Tarp Size | Best For | Overhang Coverage |
|---|---|---|
| 10x12 ft | Small leaks, single shingle loss | 1-2 roof slopes |
| 20x30 ft | Partial slope damage | Full slope coverage |
| 30x50 ft | Major storm damage | Multiple slopes |
Skip the cheap blue thin tarps. They shred in wind within days. A heavy-duty tarp costs a bit more and holds up for months.
Roof Tarping Safety Precautions You Cannot Skip
Falls are the number one danger in emergency roof work. A safety harness, ladder safety habits, and a spotter are not optional.
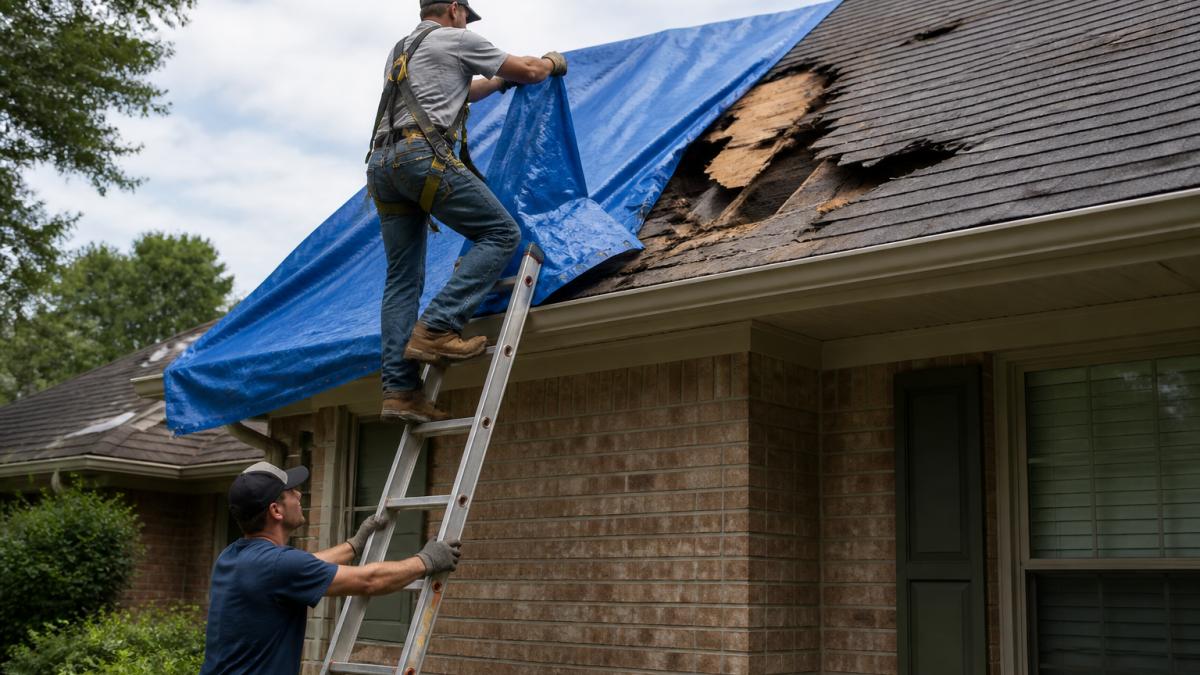
Follow these rules every time:
- Set the ladder on level ground at a 4:1 angle
- Extend it 3 feet above the roof edge
- Wear a harness anchored to a solid point
- Never work alone or in high wind
- Wait for dry conditions if you can
The OSHA fall protection standards for residential work require fall protection above certain heights, and the same logic applies to your own home. If the roof pitch is steep or the surface is slick, hire a pro.
Step-by-Step: How to Install a Tarp on Your Roof
Here's the sequence that works, from unrolling to final fastener.
- Unroll the tarp on the ground and mark your layout.
- Carry it up with a helper, or drape it from the ridge.
- Position it so it overhangs each edge by 3-4 feet.
- Wrap the leading edge around a 2x4 for weight.
- Fasten the top edge first, working downward.
- Add fasteners every 2-3 feet along each edge.
- Check for wrinkles that could catch wind.
Techniques for Different Roof Pitches
Low-slope roofs under 4:12 are the easiest. You can often walk them with care and lay the tarp flat.
Steeper pitches change the game:
- 4:12 to 6:12: Use a harness and work from a stable ladder.
- 6:12 to 8:12: Add roof jacks or a temporary platform.
- Above 8:12: Call a professional. The risk is not worth it.
On steep pitches, run the tarp from ridge to eave in one piece. Never leave a horizontal seam where water can pool.
Securing the Tarp to Prevent Wind Uplift
Wind uplift is what rips tarps off. The fix is a proper anchoring system, not more nails in the same spots.
Use these methods together:
- Wrap edges around 2x4 lumber for weight
- Fasten through grommets with cap nails
- Add furring strips over the tarp for extra grip
- Leave no loose flaps anywhere
How Long Can a Tarp Stay on a Roof?
A heavy-duty tarp can stay on a roof for 30 to 90 days, but it is a temporary repair, not a fix. UV rays break down polyethylene over time, and wind slowly works fasteners loose.
Plan to replace the tarp or complete permanent repairs within a few weeks. The longer it sits, the more likely it is to fail at the worst moment.
Post-Tarping Maintenance and Monitoring
A tarp is not a set-and-forget fix. The first 48 hours after installation are when most tarp failures happen, because that's when wind, thermal expansion, and water load first test the anchoring system. Build a short inspection routine into your week and you'll catch problems while they're still cheap to fix.
The 48-Hour Inspection
Walk the perimeter of your home 24 to 48 hours after installation and again after the next rain. You don't need to get on the roof, most failure signs are visible from the ground.
Check for:
- Sagging between fasteners: indicates the tarp is stretching or a fastener has pulled. Sagging creates a low spot where water collects.
- Pooling water: a puddle on the tarp adds hundreds of pounds of load and pulls the edges inward. If you see pooling, the tarp needs a slope correction, prop the center with a furring strip or add a ridge batten.
- Loose or missing fasteners: cap nails back out under cyclic wind load. Replace any that have lifted, and add a fastener on either side of the gap.
- Rips starting at grommets: grommets are the weakest point of any tarp. A rip radiating from a grommet means that anchor is overloaded, redistribute by adding a furring strip over that edge.
- New interior water stains: a fresh stain after tarping means water is getting in somewhere the tarp doesn't cover, or the tarp has shifted. Re-check coverage over the damaged area.
Water Pooling: The Silent Tarp Killer
Pooling is the most common reason a tarp fails before its material wears out. Water weighs about 8.3 pounds per gallon, and a modest 3-foot-by-3-foot puddle an inch deep holds roughly 6 gallons, about 50 pounds of dead load pulling down on the tarp and inward on the fasteners.
The fix is slope, not more fasteners. On flat and low-slope roofs, run a furring strip under the tarp along the centerline to create a crown, so water sheds to the edges.
Monitoring Tarp Condition Over Time
A heavy-duty polyethylene tarp typically holds up 30 to 90 days before UV exposure makes it brittle. Watch for these aging signs:
- Color fading or chalky surface (UV breakdown)
- Fabric stiffening or cracking when flexed
- Grommets pulling through the hem
- Fastener heads tearing through the fabric
Once you see two or more of these, the tarp is near end of life. Order permanent repairs or a replacement tarp before the next storm system.
Documenting Tarp Condition for Your Insurance Claim
Most guides stop at installation. But your adjuster may want to see how the tarp performed, especially if the claim is disputed or the repair is delayed.
Keep a simple log:
- Date and time of installation
- Photos of the tarp from all four sides immediately after install
- Photos after each inspection, especially any damage or shifting
- Notes on any repairs you made (new fasteners, added battens)
- Receipts for tarp, lumber, and fasteners, these are often reimbursable under a homeowner's policy's "reasonable repairs" provision
Keep your tarp receipts and a dated photo log in the same folder as your damage photos. When an adjuster sees a documented, well-maintained temporary repair, it supports the argument that you mitigated further damage in good faith, which most policies require.
When Maintenance Isn't Enough
If the tarp is holding but interior leaks continue, the damage underneath is spreading. If fasteners keep backing out despite re-anchoring, the deck itself may be too soft to hold them, a structural problem, not a tarp problem. In either case, the tarp has done its job of buying time. Call a licensed contractor to assess the deck and start permanent repairs before the next storm cycle.
When to Call for Emergency Roof Repair Services
Call a professional when the damage goes beyond shingles. Structural issues, steep pitches, and active leaks need expert hands.
Look for these red flags:
- Sagging roofline or bowed rafters
- Water pouring into the attic
- Damage over electrical fixtures
- Roof pitch above 8:12
- Any sign of mold or rot
What to Look for in a Licensed Contractor
Ask three questions before you hire anyone.
- Are you licensed and insured in this state?
- Will you document the damage for my insurance claim?
- Do you offer a written estimate before work starts?
A good contractor walks the roof, photographs everything, and explains the scope in plain language. They also help with insurance documentation and claim adjustment, which saves homeowners a lot of stress.
At Certified Roofing Solutions Inc., our team handles residential and commercial roofing across Marietta, Alpharetta, Dunwoody, and Johns Creek. We document storm damage, work with your insurer, and complete repairs.
Frequently Asked Questions
How long can I leave a tarp on my roof?
A tarp is a temporary measure. Most tarps last 30 to 90 days depending on UV resistance and weather. After that, the material breaks down and can flap loose, causing more damage. Schedule permanent repairs with a licensed contractor within a few weeks. If you see sagging, tears, or loose fasteners, replace the tarp immediately. For emergency roof repair services, call a professional as soon as possible.
What are the immediate steps after storm damage to my roof?
First, check for safety hazards like downed power lines or gas leaks. Then document damage with photos from the ground. If you can safely access the roof, cover damaged areas with a heavy-duty polyethylene tarp. Secure it with 2x4 lumber and screws, not just nails. Finally, call your insurance company and a licensed contractor. Emergency roof tarping prevents further water damage and supports your claim.
Do I need professional help to tarp my roof?
If your roof is steep, damaged, or wet, hire a professional. Roof tarping safety precautions include using fall protection and avoiding slippery surfaces. Many homeowners lack the proper harness, ladder stabilizer, or experience. A licensed contractor can tarp safely and assess structural integrity. For emergency roof repair services, professionals also handle insurance documentation.
What is the 25% rule in roofing insurance claims?
The 25% rule is a common insurance guideline: if 25% or more of your roof is damaged, some insurers may require replacing the entire roof slope or the whole roof to ensure uniform appearance and structural integrity. This rule varies by policy and state. Document all damage thoroughly and ask your adjuster how it applies. A licensed contractor can help you navigate the claim adjustment process.
Storm damage never waits for a convenient moment, and neither should your protection plan. A tarp buys you time, but a licensed roofer secures your home for good. Certified Roofing Solutions Inc. brings an experienced team, tailored repair plans, and a commitment to excellence on every project. Get started with Certified Roofing Solutions Inc. and book an appointment today to protect your home until help arrives.