 How-to
Moving Outdoor Furniture Before Roof Installation
Table of Contents
- Why Moving Outdoor Furniture Matters Before Roof Installation
- How to Prepare for Roof Replacement: Assessment and Planning
- Step-by-Step: Moving Different Types of Outdoor Furniture
- How to Protect Patio Furniture During Roof Replacement
- Where to Store Patio Furniture: Safe Storage Solutions
- Roof Replacement Preparation Checklist and Timeline
- Common Mistakes to Avoid When Moving Outdoor Furniture
- Coordinating With Your Roofing Contractor
- Frequently Asked Questions
Last Updated: October 20, 2026
Why Moving Outdoor Furniture Matters Before Roof Installation
A roof replacement involves heavy equipment, multiple workers, and constant activity above your property. Moving outdoor furniture roof work protects your investment and lets the crew work safely and efficiently.
Falling debris can damage cushions, scratch finishes, and dent metal frames. Furniture left in the work area also becomes an obstacle that slows progress and creates safety hazards. The contractor needs clear ground access to position ladders, stage materials, and manage debris removal.
Proper preparation keeps your installation on schedule and your belongings safe.
How to Prepare for Roof Replacement: Assessment and Planning
Before you move a single chair as part of moving outdoor furniture roof preparation, assess what you have and plan your approach. This step determines whether moving day runs smoothly or becomes chaotic.
Measure Your Work Area
Most roofing contractors need a clear work area extending at least 15 feet from the house perimeter on all sides, so they can position equipment, store materials, and manage falling debris and shingles.
Walk the property with a tape measure, mark the 15-foot boundary, and identify which pieces fall within that zone.
Document what you have:
- Patio furniture (tables, chairs, lounges)
- Grills and barbecue equipment
- Potted plants and planters
- Decorative items (hanging planters, wind chimes, outdoor art)
- Garden tools and equipment
- Gazebos or permanent structures
Taking photos of your outdoor setup helps you remember where everything was and simplifies cleanup after the installation.
Create a Moving Timeline
Timing matters. Moving furniture days early means awkward storage, but waiting until the morning of installation creates stress. Plan to move items the evening before or early on installation day.
Coordinate with your contractor about arrival time. Most crews start between 7 and 8 a.m., so if they arrive at 7 a.m., finish moving furniture by 6:30 a.m. at the latest.
Create a simple timeline:
- One week before: Confirm contractor arrival time and weather forecast
- Three days before: Decide what stays and what moves
- Two days before: Gather supplies (tarps, rope, storage space)
- Evening before: Move large furniture and outdoor décor
- Morning of: Move final items and clear the work area
Step-by-Step: Moving Different Types of Outdoor Furniture
Different furniture requires different techniques. Moving each type safely prevents damage and injury.
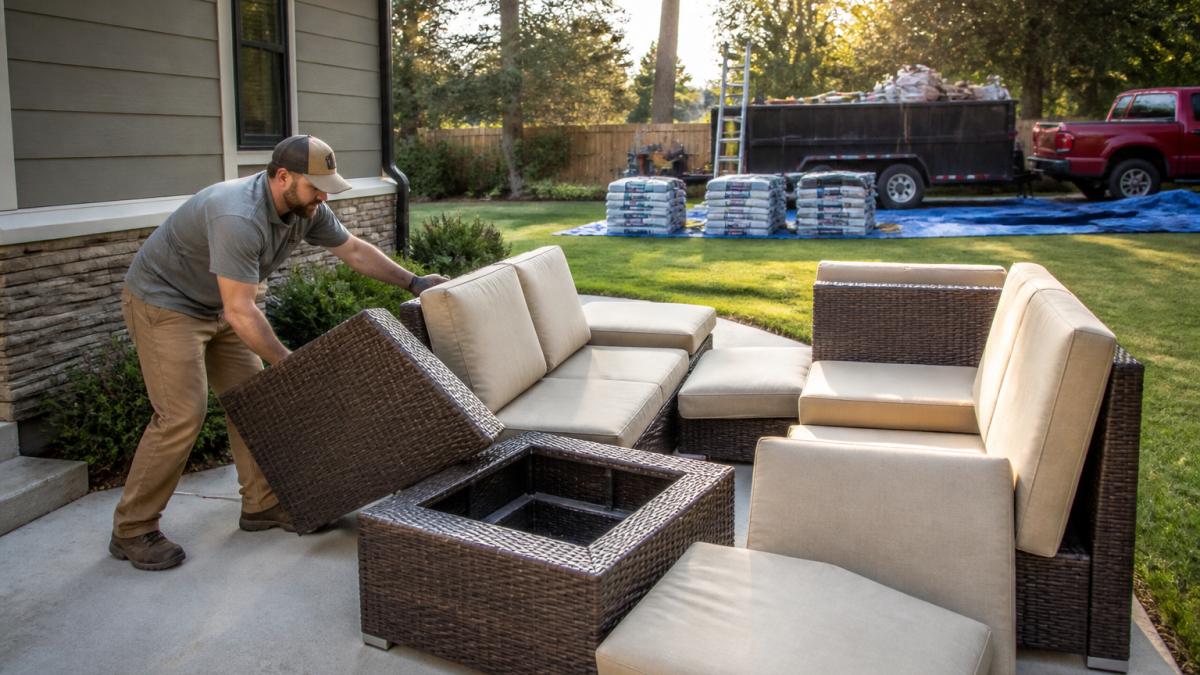
Disassembling and Moving Large Pieces
Large furniture like sectionals and dining sets often comes apart. Check whether your pieces can be disassembled before moving day.
Sectional sofas: Remove cushions first.
Outdoor dining tables: Remove the tabletop if possible.
Large lounges and recliners: Check for bolts or fasteners, and remove removable legs or bolted-on arms. Take photos before disassembly so you remember how to reassemble.
Benches and built-in seating: These are often permanent or very heavy. Measure first; if they fit through your garage or shed door, move them.
When moving disassembled pieces:
- Carry one section at a time
- Use proper lifting technique: bend your knees, keep your back straight
- Get help if a piece weighs more than 50 pounds
- Protect the finish with blankets or moving pads
- Transport through the easiest route (usually a side gate to the backyard)
Handling Lightweight and Modular Furniture
Chairs, small tables, and modular pieces move quickly with less planning.
Stacking chairs: Stack them in groups of five or six and carry the entire stack at once.
Small accent tables: Carry two at a time, one in each hand.
Modular seating: Carry each piece separately; they're usually light enough for one person to handle.
Ottoman and side tables: Lightweight and easy to move. Carry several at once to reduce trips.
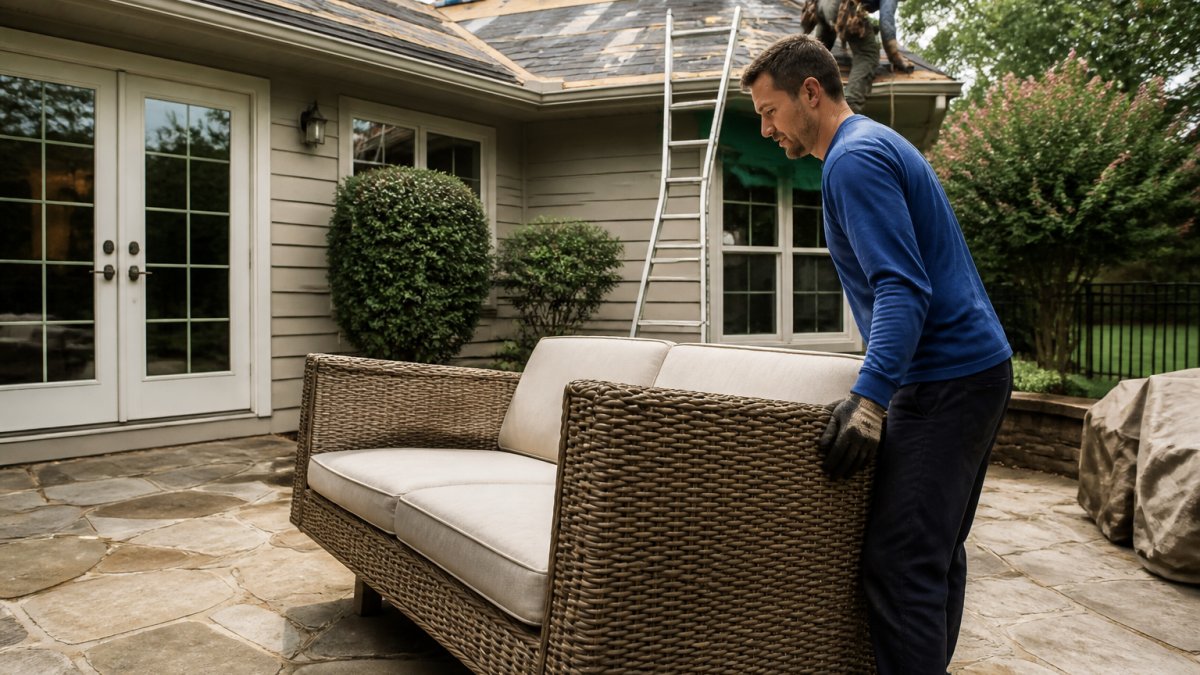
Wicker and rattan furniture: These materials can crack if stressed. Carry one piece at a time, supporting the frame properly.
How to Protect Patio Furniture During Roof Replacement
Some furniture stays outside because it can't fit anywhere else or because moving it creates more risk than protecting it in place.
Securing Items That Cannot Be Moved
Gazebos, pergolas, and permanent structures can't move. Protect them strategically.
Gazebos and pergolas: Falling debris can accumulate on the roof, so clear leaves and debris from the top before installation day.
Outdoor speakers and lighting fixtures: These are typically mounted and shouldn't be moved. Cover them with plastic bags secured with tape. Remove the plastic after installation.
Hanging planters and decorations: Remove anything hanging from the house or patio cover. Falling debris or equipment movement can knock them down.
Protecting Cushions, Grills, and Outdoor Décor
Items that stay outside need protection. Invest in tarps and weatherproof covers.
Cushions and pillows: These absorb water and debris. Move them inside or store them in a garage.
Grills and barbecue equipment: Don't move a gas grill if it's properly connected.
Outdoor rugs: Roll them up and move them inside. Roofing debris and water can stain them permanently.
Decorative items: Lanterns, sculptures, wind chimes, and hanging décor should be removed.
Planters and potted plants: Move these to a sheltered location. A garage, shed, or covered porch works well.
Where to Store Patio Furniture: Safe Storage Solutions
Finding the right storage location prevents damage and keeps your furniture accessible for cleanup.
Using a Garage or Shed for Storage
A garage is the ideal storage location during roof replacement. It's weatherproof, protected from debris, and convenient for moving furniture back after installation.
Garage storage tips:
- Clear space before moving day
- Stack lightweight items vertically to maximize space
- Place heavier pieces against the wall
- Use blankets or moving pads between stacked items to prevent scratches
- Leave walkway space for the contractor if they need garage access
If you don't have a garage, a shed works well. Sheds are typically smaller, so prioritize what goes inside. Store cushions, pillows, and delicate items in the shed.
Storage in covered patios or carports: If you have a covered patio, this offers some protection from debris. However, roofing debris can still reach covered areas. Use tarps to create a barrier and protect furniture underneath.
Weatherproof Storage and Organization
Proper organization prevents damage and makes retrieval easier.
Creating a storage system:
- Group furniture by type (chairs together, tables together)
- Place the items you'll need first near the entrance
- Use weatherproof covers or tarps for items stored outside the garage
- Label storage areas so you remember what's where
- Keep a list of what's stored and where
Protecting furniture in storage:
- Wipe down furniture before storing to remove dirt and debris
- Use furniture covers or old sheets to prevent dust accumulation
- Keep cushions in sealed bags to prevent moisture absorption
- Store grills with the lid closed
- Leave space around items for air circulation
Temporary outdoor storage: If you must store furniture outside, create a covered area using a large tarp and PVC pipes. This makeshift shelter protects against rain and debris while keeping furniture accessible.
Roof Replacement Preparation Checklist and Timeline
A written checklist keeps you organized and ensures nothing gets overlooked.
One Week Before Installation
- Confirm the exact installation date and time with your contractor
- Check the weather forecast and plan for rain protection if needed
- Measure the work area around your home
- Inventory all outdoor furniture and décor
- Identify storage locations for items being moved
- Gather supplies: tarps, rope, moving blankets, plastic bags, rope ties
The Day Before and Day Of
Evening before:
- Move all furniture that won't stay outside
- Secure any items that are staying in place with tarps and rope
- Clear the work area of toys, tools, and small items
- Park vehicles in the garage or far away from the house
- Close windows and doors to minimize dust inside
Morning of installation:
- Do a final walkthrough of the work area
- Move any remaining items
- Ensure the contractor has clear access to all sides of the house
- Brief the contractor on any items that couldn't be moved
- Close gates and secure pets indoors
After installation:
- Inspect furniture for damage before bringing it back
- Clean furniture and remove any dust or debris
- Return items to their original positions
- Check for any roof debris in gutters or on remaining outdoor items
Common Mistakes to Avoid When Moving Outdoor Furniture
Learning from others' experiences saves time and prevents frustration.
Moving too early: Storing furniture for days creates clutter and increases the risk of damage.
Not protecting items that stay: Assuming roofing debris won't reach your patio cover or gazebo is a mistake.
Forgetting about decorative items: Wind chimes, hanging planters, and outdoor art get overlooked.
Skipping the disassembly step: Trying to move a full sectional as one piece is exhausting and risky.
Not securing heavy items: A large planter or grill that tips during wind can cause injury.
Coordinating With Your Roofing Contractor
Clear communication with your contractor prevents surprises and keeps the project on track.
Before installation, discuss:
- Exact arrival time and expected duration
- Whether they need access to your garage or shed
- Debris management, will they clean up daily or at the end?
- Whether they'll remove existing gutters or skylights
- Any concerns about your landscaping or property features
Ask about their work area requirements:
- How far from the house do they need clear space?
- Will they need to access your backyard?
- Do they need water or electricity access?
- Where will they stage materials?
Clarify what happens to items you can't move:
- Will they work around permanent structures?
- How will they protect items that must stay outside?
- What's your responsibility if something gets damaged?
Confirm cleanup expectations:
- Will they sweep and remove debris daily?
- How will they handle debris in gutters and landscaping?
- When will the property be fully cleared?
Good contractors expect these questions and appreciate homeowners who prepare. Clear communication before installation day means fewer problems during the work.
Preparing your outdoor space for roof replacement takes planning but prevents damage and keeps your project on schedule. When you're ready to move forward with your roof replacement, Certified Roofing Solutions Inc. handles every detail with professional expertise and attention to your property. Book an Appointment Today and let our experienced team manage your roofing project from start to finish.
Frequently Asked Questions
How far should outdoor furniture be moved from the house during roof installation?
Move patio furniture at least 15 feet away from the house perimeter to avoid falling roofing debris and to give the roofing crew clear access to the exterior. If your yard is smaller, place items in a garage, shed, or covered storage area. Check with your contractor about the specific work area they'll need, some projects require additional clearance depending on equipment placement and debris patterns.
When should I move outdoor furniture before roofers arrive?
Start moving patio furniture 3-5 days before the installation date. This gives you time to disassemble larger pieces, organize storage, and address any unexpected obstacles. Move items the night before if you're short on time, but earlier preparation reduces stress and prevents last-minute rushing. Confirm the exact arrival time with your roofing contractor so you know the final deadline.
Can I cover patio furniture instead of moving it?
Covering furniture with tarps is less reliable than moving it. Heavy roofing debris, vibration, and falling materials can damage tarps and the items beneath them. If you must leave some pieces outside, secure heavy-duty tarps tightly and place them well away from the house. However, moving furniture to a garage, shed, or storage area offers better protection for cushions, grills, and decorative items during the roofing project.
What's the best way to prepare patio furniture for storage during roof replacement?
Clean furniture before storing it to prevent mildew and staining. Disassemble removable parts like legs, arms, or table tops to save space. Store cushions and covers in waterproof bins or sealed bags. Place heavier items on the bottom and lighter pieces on top. Leave adequate space between items for air circulation, and avoid stacking furniture directly against walls. Use a shed or garage with good ventilation to keep items dry and protected during the roofing installation.