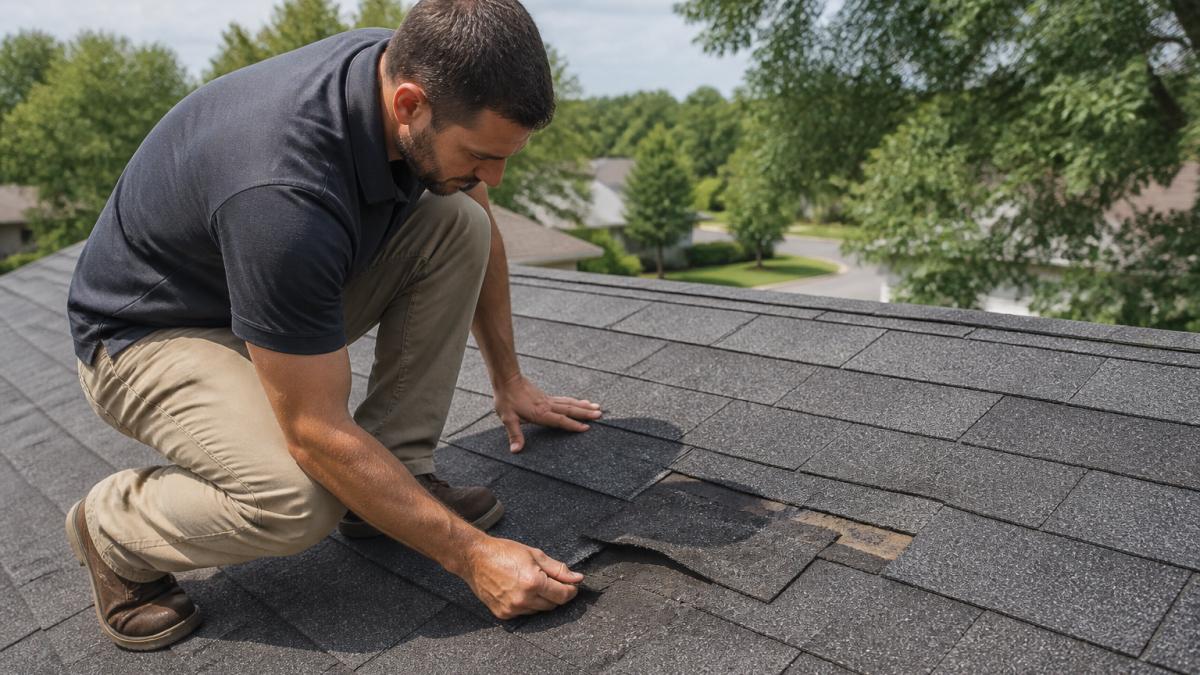
 how-to
How to Safely Inspect a Roof for Damage: 2026 Guide
Table of Contents
- What You'll Need Before You Inspect a Roof
- Step 1: Do a Ground-Level Visual Assessment First
- Step 2: Common Signs of Roof Damage to Document
- Step 3: Inspect Gutters, Fascia, Soffits, and the Attic
- Smartphone Photography Tips for Insurance Claim Documentation
- When to Call a Roofing Contractor Instead of Climbing Up
- Seasonal Roof Inspection Checklist and How Often to Repeat It
- Frequently Asked Questions
Last Updated: September 30, 2026
What You'll Need Before You Inspect a Roof
Most homeowners never look at their roof until water drips through the ceiling, the wrong time to learn how to safely inspect a roof for damage. A 20-minute check twice a year can prevent damage that costs thousands later.
Ground-Level Tools That Do Most of the Work
You do not need a ladder to spot trouble. These tools handle the first pass:
- Binoculars (7x or 10x) to read shingle edges from the yard
- A smartphone with a good camera for zoom shots
- A notepad or notes app to log what you find and when
- A flashlight for attic and soffit checks
- Work gloves for gutter and downspout clearance
Safety Gear Specifications for Roof Access
If you go up, gear is not optional. Falls send thousands to emergency rooms yearly, and most involve ladders, not the roof surface.
- Ladder: rated for at least 300 lbs, extended 3 feet above the roofline
- Fall protection: a full-body harness with roof anchors on any pitch above 4:12
- Footwear: soft-soled shoes with grip, never bare feet or sandals
- Stabilizer bar: attaches to the ladder top so it cannot shift
- Spotter: one person on the ground, always
Step 1: Do a Ground-Level Visual Assessment First
The safest inspection starts and ends on the ground. Walk the full perimeter with binoculars and look up, this pass catches most visible problems before you risk a ladder.

Reading Shingle Integrity From the Yard
Shingle integrity is your roof covering's ability to shed water without gaps, cracks, or lifted edges. Judge it from the ground by looking for three things:
- Granule loss: bare, dark patches where the surface has worn away
- Curled shingles: edges lifting up like a potato chip
- Buckled shingles: ridges running up the slope, usually a sign of moisture intrusion underneath
Step 2: Common Signs of Roof Damage to Document
The clearest signs of roof damage fall into a short list. Learn them once and you will spot them in seconds, and understand what each tells you about the roof's condition.
- Missing or cracked shingles, the exposed underlayment is now the only barrier against water
- Nail pops, fasteners backing out of the deck, often after thermal cycling or a storm
- Rusted or bent flashing, the metal that seals roof-to-wall and roof-to-chimney joints has failed
- Dark streaks from algae growth, cosmetic in most cases, but it signals moisture retention on the shingle surface
- Green patches of moss accumulation, moss roots lift shingle edges and hold water against the deck
- Loose or missing ridge vents, attic ventilation is compromised, which accelerates shingle aging from below
- Water stains on attic rafters, the most reliable sign of an active or past leak
How to Tell Active Damage From Old Damage
Most guides skip this distinction, but an adjuster will ask, and your answer affects coverage.
- Active damage shows fresh exposed underlayment, bright metal on flashing, or wet staining that darkens over days
- Old damage shows weathered underlayment, dull or oxidized flashing, and dry, faded stains with defined edges
- Storm damage typically appears as a pattern, impact marks on one slope, lifted edges facing the wind direction, or granule loss concentrated on the side that took the hail
Material-Specific Warning Signs Most Homeowners Miss
Different coverings fail differently. These are the warning signs a professional looks for on each material.
- Asphalt shingles: granule loss in gutters, curling at the edges, nail pops after a storm, and "fishmouthing", shingles that lift in the middle while the edges stay sealed
- Metal roofing: loose fasteners, oil-canning (wavy panels from thermal expansion), scratched coatings that invite rust, and failed butyl tape at panel seams
- TPO and flat membranes: seam separation, ponding water that stays 48 hours after rain, blistering near drains, and shrinkage at the perimeter
- Wood shakes: splitting, rot at the butt ends, moss growing in the gaps, and cupping where the shake edges lift higher than the center
- Tile and slate: cracked or slipped tiles, broken pieces in the gutter, and deteriorated underlayment that fails long before the tile itself
Step 3: Inspect Gutters, Fascia, Soffits, and the Attic
Damage rarely stays on the roof, it travels down. Check gutters, fascia, and soffit ventilation, then finish in the attic.
Here is what to look for at each point:
| Area | Warning Sign | What It Means |
|---|---|---|
| Gutters | Granules in the trough | Shingles are wearing out |
| Downspout clearance | Water pooling at the base | Poor drainage, foundation risk |
| Fascia boards | Soft or peeling wood | Moisture intrusion behind the edge |
| Soffit ventilation | Blocked or painted-over vents | Poor airflow, attic heat buildup |
| Attic | Dark stains on rafters | Active or past leak |
| Attic | Daylight through the roof deck | Open gap in the roof covering |
Smartphone Photography Tips for Insurance Claim Documentation
Good photos decide claims. An insurance adjuster will not climb your roof to verify a vague description. They work from what you send.
Follow these rules when you shoot:
- Shoot wide, then zoom. One overview shot per slope, then close-ups of each issue.
- Include a reference object. A ruler, a coin, or your hand shows scale.
- Use grid lines. Turn them on so your shots stay level.
- Shoot in daylight. Overcast light beats harsh noon sun for detail.
- Log the date and location. Your phone does this automatically. Keep it on.
- Never edit the photos. Adjusters flag altered images.
When to Call a Roofing Contractor Instead of Climbing Up
Most guides say call a pro when you see something bad, that is not a decision framework. The real question: can you safely observe the problem from the ground, or does it need someone on the roof with the right equipment and insurance?
Use this three-part test before you decide.
The Three-Part Decision Test
1. Can you see it from the ground? If binoculars show the issue clearly, document and monitor it. If you cannot see it without climbing, that is your first signal to call.
Red Flags That Mean Stop and Call
Do not climb if any of these apply:
- Your roof pitch is steeper than 6:12
- You see sagging or a spongy deck
- There is standing water or active dripping
- The damage follows a hail or wind event
- You are over 60 or not comfortable on ladders
- The roof has skylights, dormers, or multiple valleys that complicate footing
- There is any chance the damage involves electrical lines or a chimney
What a Professional Inspection Adds That You Cannot Do Yourself
A trained inspector brings expertise you cannot replicate from the ground, including the ability to perform moisture readings, conduct a thorough deck assessment, and provide context regarding code compliance and manufacturer warranties.
What to Ask Before You Hire
Ask three questions before anyone climbs your roof:
- Are you licensed and insured? Ask for the license number and a certificate of insurance. In most states, roofing contractors must carry general liability and workers' compensation.
- Will you provide a written report? A verbal assessment is not documentation. Ask for photos, moisture readings, and a written scope of work.
- What happens if you find more damage once work starts? The answer should be a written change order before any additional work continues. No surprise costs.
Seasonal Roof Inspection Checklist and How Often to Repeat It
Inspect your roof twice a year, plus after any major storm. Spring and fall are best; add a quick ground-level look after every hail or high-wind event.
Use this checklist each time:
- Walk the full perimeter with binoculars
- Check shingle integrity on every slope
- Look for curled, buckled, or missing shingles
- Inspect flashing around chimneys and vents
- Clear gutters and check downspout clearance
- Check fascia boards and soffit ventilation
- Scan the attic for stains and daylight
- Photograph anything new and date it
- Note roof pitch and any change in sag
Frequently Asked Questions
Is it safe to walk on my own roof to inspect it?
Walking your own roof is risky unless you have fall protection, the right ladder angle, and a roof pitch under 6:12. Most asphalt shingle roofs in this region sit between 4:12 and 8:12, and anything steeper should be left to a professional. Ground-level checks with binoculars catch most obvious damage without the fall hazard. If you do climb up, wear shoes with grip, avoid wet or mossy sections, and never go up alone.
What are the most common signs of roof damage I should look for?
Start with granule loss in gutters, which looks like coarse black sand. Then check for curled shingles, buckled shingles, missing tabs, and nail pops pushing up through the surface. On the ground, look at the drip edge and roof valley for rust or separation. Inside, check the attic for moisture intrusion, dark stains on the roof deck, and daylight showing through. Any of these means you should have a professional assess the roof covering before the next storm.
How often should I inspect my roof, and does it change by season?
Twice a year works for most homes: once in spring after winter freeze-thaw cycles and once in fall before storm season. Add an inspection after any hail event or wind gust above 50 mph. A seasonal checklist helps you stay consistent. Spring focuses on attic moisture and flashing; fall focuses on debris, downspout clearance, and soffit ventilation. Homes over 15 years old benefit from a third mid-summer check.
When should I call a roofing contractor instead of doing it myself?
Call a professional if you see sagging decking, water stains on ceilings, granule buildup in gutters after a single storm, or any damage near the chimney flashing or roof valley. Also call if your roof pitch exceeds 6:12, if you're over 60, or if you don't own fall protection. A contractor may be able to identify moisture intrusion that a visual assessment misses, and can document findings for an insurance adjuster.