 ultimate-guide
Why Professional Roof Installation Matters: A 2026 Guide
Table of Contents
- How Poor Installation Shortens Roof Lifespan
- Common Signs of Poor Roof Installation
- Building Codes, Permits, and Safety Standards
- Material-Specific Nuances: Shingles, TPO, and Metal
- Roof Installation Timeline: What a Proper Job Looks Like
- Warranty and Insurance Risks of DIY or Cheap Installation
- Roofing Contractor Vetting Checklist
- Conclusion: Protecting Your Home Investment
- Frequently Asked Questions
Last Updated: September 11, 2026
How Poor Installation Shortens Roof Lifespan
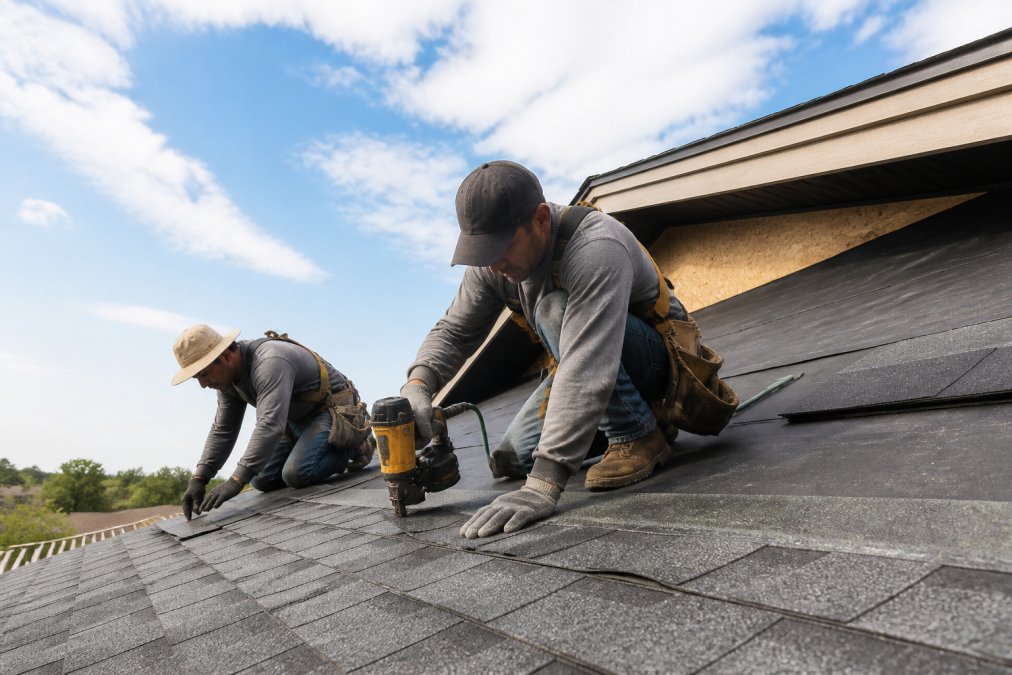
A professional roof installation to manufacturer specification can serve your home for decades. One installed carelessly can fail in a fraction of that time, often within the first few years. That gap is the core reason professional roof installation matters: the materials are rarely the weak link, the workmanship is.
Roofing is a system, not a stack of shingles. Water has to shed, air has to move, and every layer has to overlap the one below it in the correct sequence. When crews rush, they skip the details that keep that system sealed. A common mistake is fastening shingles too high on the nail line, which seems minor until wind lifts an edge and water tracks underneath.
Certified Roofing Solutions Inc. has inspected roofs across Marietta, Alpharetta, Dunwoody, and Johns Creek where the shingles looked fine from the street but the decking underneath was already softening. Poor installation shortens roof lifespan because it traps moisture rather than shedding it, and trapped moisture does its damage slowly and invisibly.
Common Signs of Poor Roof Installation
The clearest signs of poor roof installation show up at the edges, the penetrations, and the transitions, not in the middle of the roof. Check these first:
- Shingles that look wavy or uneven across a flat plane
- Nail heads visible on the surface instead of covered by the course above
- Missing or improperly layered flashing around chimneys, vents, and skylights
- Granules collecting in gutters within the first year
- Water staining on attic rafters or the underside of the roof deck
- Sagging along the eaves or ridge line
Uneven shingle rows usually mean the crew did not chalk a straight line and worked too fast. Visible nails mean the overlap is wrong. Both are installation errors, and both shorten the roof's life even when the shingles themselves are premium grade.
What most guides miss is that some of these problems stay hidden for years. A roof can pass a casual walk-around and still be failing underneath. That is why a professional inspection looks at the attic and the deck, not just the surface.
Building Codes, Permits, and Safety Standards
Roof installation is governed by local building codes, and a permitted job is your first protection against a bad one. Codes cover the roof deck attachment, flashing details, ventilation requirements, and the moisture barrier or underlayment beneath the finished surface. A contractor who pulls the correct permit is working to an inspected standard.
The International Code Council's building safety resources publishes the model codes that most jurisdictions adopt, and those codes exist because roofs fail when the layers beneath the surface are done wrong. Permits matter for a second reason: an unpermitted roof can complicate a future sale and give an insurer grounds to question a claim.
Safety standards protect the crew, and they protect you too. Roofing is one of the more hazardous trades, and the Occupational Safety and Health Administration's fall protection guidance sets the rules for working at height. A crew that skips harnesses and proper staging is also a crew that is likely cutting corners elsewhere.
Material-Specific Nuances: Shingles, TPO, and Metal
Each roofing material fails in its own way when installed poorly, so the right technique is not interchangeable. Architectural shingles need correct nail placement and consistent overlap. TPO membrane, common on commercial buildings, needs heat-welded seams that are actually tested, not just pressed together. Metal roofing depends on expansion and contraction being planned for, with fasteners and panels that allow movement.
This is where generalist crews get exposed. A residential shingle crew is not automatically qualified to install a commercial TPO system, and the reverse is also true. Property managers in Dunwoody who need TPO or metal work should confirm the installer actually works with that material regularly.
| Material | Key Installation Detail | What Goes Wrong If Skipped |
|---|---|---|
| Architectural shingles | Correct nail line and overlap | Wind lift, leaks, voided warranty |
| TPO membrane | Heat-welded, tested seams | Seam failure, ponding leaks |
| Metal roofing | Allowance for thermal movement | Loose fasteners, oil-canning, noise |
The takeaway is simple: match the installer to the material. A low bid from a crew that mostly does one material is not a bargain if your roof is the other one.
Roof Installation Timeline: What a Proper Job Looks Like
A properly installed roof follows a defined sequence, and the timeline is a useful way to judge whether your crew is doing it right. Most residential asphalt shingle replacements run one to three days depending on square footage, pitch, number of penetrations, and weather. Metal roofing typically runs longer because panels are cut and formed to length, and standing-seam systems require careful layout so panel seams land on purlins rather than between them. Commercial TPO and other single-ply membrane projects often stretch across a week or more once insulation, cover board, and seam testing are factored in.
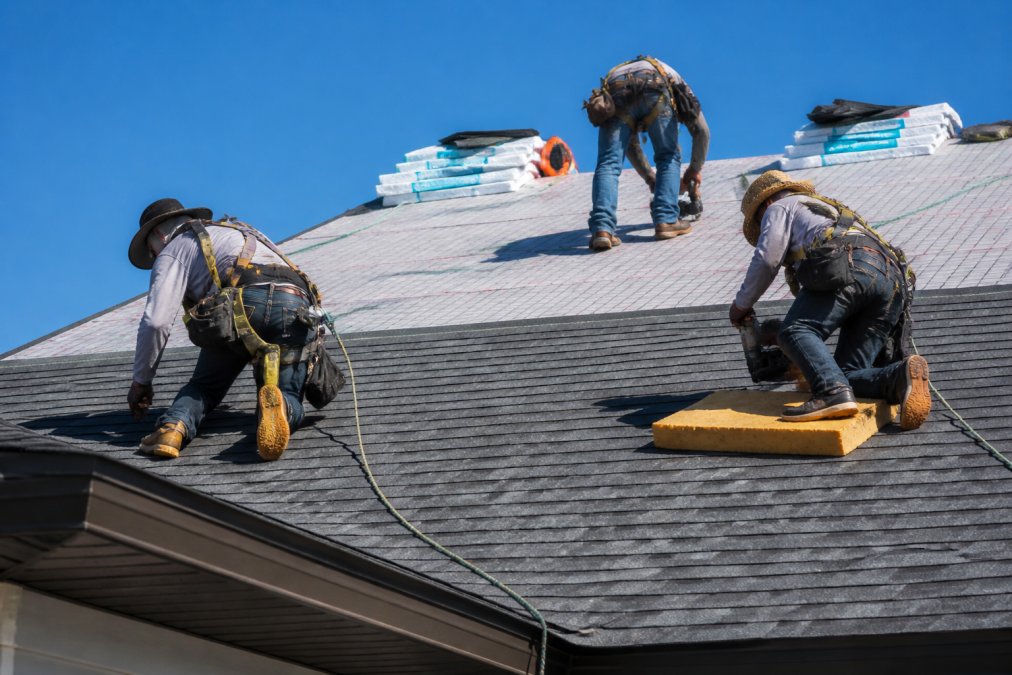
Here is the order a quality job follows, with the checkpoint that tells you the crew is not cutting corners:
- Tear-off and deck inspection. Old material comes off, then the crew walks the deck looking for soft spots, delamination, and previous leak damage. Checkpoint: they should be marking bad boards, not covering them.
- Deck repair and re-nailing. Compromised sheathing is replaced, and remaining decking is re-fastened to code. Checkpoint: you should see a written change order before new material goes down if hidden damage is found.
- Underlayment or moisture barrier. Synthetic underlayment or felt goes down over the entire deck, with ice-and-water membrane at valleys, eaves, and around penetrations in cold-climate jurisdictions. Checkpoint: overlaps should run shingle-style, upper layer over lower.
- Flashing at valleys, chimneys, vents, and wall transitions. This is where most leaks originate. Checkpoint: step flashing should be woven with the shingle courses, not face-nailed over them.
- Field shingles or membrane. Shingles go down to the manufacturer's nail line with the correct number of fasteners per shingle. TPO seams are heat-welded and probed, not just rolled. Checkpoint: ask whether seams are being tested with a probe or a seam roller.
- Ridge, ventilation, and final detailing. Ridge cap, hip and ridge ventilation, and pipe boots are finished last. Checkpoint: ridge vent should be cut through the deck, not just laid over it.
- Magnetic sweep, cleanup, and final walkthrough. Nails get swept with a magnet roller, debris hauled off, and you walk the job with the foreman before final payment.
If a crew is laying shingles on day one without inspecting the deck, that is a red flag. The deck inspection is where hidden water damage gets caught, and catching it early is far cheaper than discovering it after the new roof is on. A common pattern is that the fastest bids are also the ones that skip step one entirely.
Warranty and Insurance Risks of DIY or Cheap Installation
Most articles stop at "poor installation can void your warranty." The useful version is understanding how that actually happens, because the failure points are specific and predictable.
How manufacturer warranties get voided. Shingle manufacturers publish installation instructions that specify the number of fasteners per shingle, the placement of those fasteners relative to the nail line, the minimum overlap between courses, and the approved underlayment and flashing details. When a claim is filed, the manufacturer's inspector looks for those details. Common findings that trigger a denial include:
- Fasteners placed above the manufacturer's nail line, which is one of the most frequently cited installation defects
- Too few fasteners per shingle, or fasteners driven at an angle rather than flush
- Missing or improperly layered underlayment in valleys and at eaves
- Flashing installed with caulk or mastic instead of the specified metal detail
- Shingles installed below the manufacturer's minimum slope without the required ice-and-water membrane
When any of those show up, the manufacturer can attribute the failure to workmanship rather than a product defect and decline the claim. The material warranty is still technically in force, it just does not apply to a failure caused by how the material was installed.
How insurance claims get complicated. A homeowner's policy generally covers sudden, accidental damage, wind, hail, fallen limbs, not gradual deterioration from poor workmanship. That distinction matters after a storm. If an adjuster finds that a leak predates the storm or that the roof was never permitted, the claim can be reduced or denied. Two things protect you here: a permit pulled in the contractor's name, and a documented installation that meets code. Both create a paper trail showing the roof was done correctly before the loss event.
Some carriers also ask about roof age and installation when setting premiums, and a roof installed by a licensed, insured contractor with a workmanship guarantee is easier to underwrite than one with no documentation. That is a real, if indirect, financial benefit of doing the job right.
The workmanship guarantee is the piece most homeowners miss. A manufacturer warranty covers the shingles. It does not cover the labor to tear them off and reinstall them, which is often the larger cost. That coverage comes from the installer's workmanship guarantee, and it only has value if the company is still in business when you need it. Ask how long the guarantee runs, whether it is transferable if you sell the home, and whether it is in writing with a stated term.
Roofing Contractor Vetting Checklist
Use this checklist before you sign anything. A contractor who hesitates on any of these is telling you something.
- Valid state or local license, verified independently
- Proof of general liability and workers' compensation insurance
- Manufacturer certification for the specific material being installed
- A written, itemized estimate with no vague line items
- Clear process for handling hidden damage found mid-job
- Permit pulled in the company's name, not yours
- Written workmanship guarantee with a stated term
- Local references you can actually call
- A defined cleanup and debris-disposal plan
- A single point of contact for the whole project
The hidden-damage question matters more than people expect. Ask upfront how the contractor handles decking that turns out to be rotted once the old roof comes off. A professional will explain the process and put it in writing, so you know the cost before the work continues rather than after.
Conclusion: Protecting Your Home Investment
Your roof is one of the largest single investments in your home, and how it is installed determines whether it protects that investment or quietly erodes it. Poor workmanship shortens roof lifespan, risks your warranty, and can leave you exposed at claim time. The checklist above is your defense against all three.
At Certified Roofing Solutions Inc., we handle residential and commercial roofing across Marietta, Alpharetta, Dunwoody, and Johns Creek with a team experienced in both shingle and specialized systems like TPO and metal. We inspect the deck, not just the surface, so hidden water damage gets caught before it becomes a surprise cost. Our team walks you through the process from permit to final walkthrough, with a commitment to excellence on every project.
Book an appointment today and protect your home investment with a roof installed the right way.
Frequently Asked Questions
How does professional roof installation affect roof warranty coverage?
Always ask for proof of certification before hiring.
What is the 25% rule for roofing?
The 25% rule is a common guideline used by roofing contractors and insurance adjusters. It suggests that if more than 25% of your roof is damaged, a full replacement is often more cost-effective than patching. This is not a building code but a practical threshold. A professional roofer can assess whether a repair or replacement makes sense for your situation.
Is there a tax deduction for getting a new roof?
In some cases, yes. If you install energy-efficient roofing materials, such as certain metal roofs or reflective shingles, you may qualify for federal tax credits. Additionally, if you work from home, a portion of the roof replacement may be deductible as a business expense. Consult a tax professional to confirm eligibility for your specific situation.
What are the signs of poor roof installation I should look for?
Watch for curling or buckling shingles, leaks in the attic after storms, exposed nails, uneven rooflines, and granules collecting in gutters. Poor ventilation and flashing errors also show up as moisture or mold in the attic. If you notice any of these signs of poor roof installation, have a certified contractor inspect the roof promptly to prevent further damage.