 how-to
Why Metal Roofs Need Z-Bars: A Complete Guide
Table of Contents
- What Z-Bars Do for Metal Roofing Systems
- How Z-Bars Prevent Water Infiltration and Moisture Damage
- Metal Roof Flashing Types and Their Applications
- How to Install Z-Trim on Standing Seam Roof
- Common Metal Roofing Installation Mistakes to Avoid
- Maintenance and Inspection for Long-Term Performance
- Frequently Asked Questions
Last Updated: August 28, 2026
What Z-Bars Do for Metal Roofing Systems
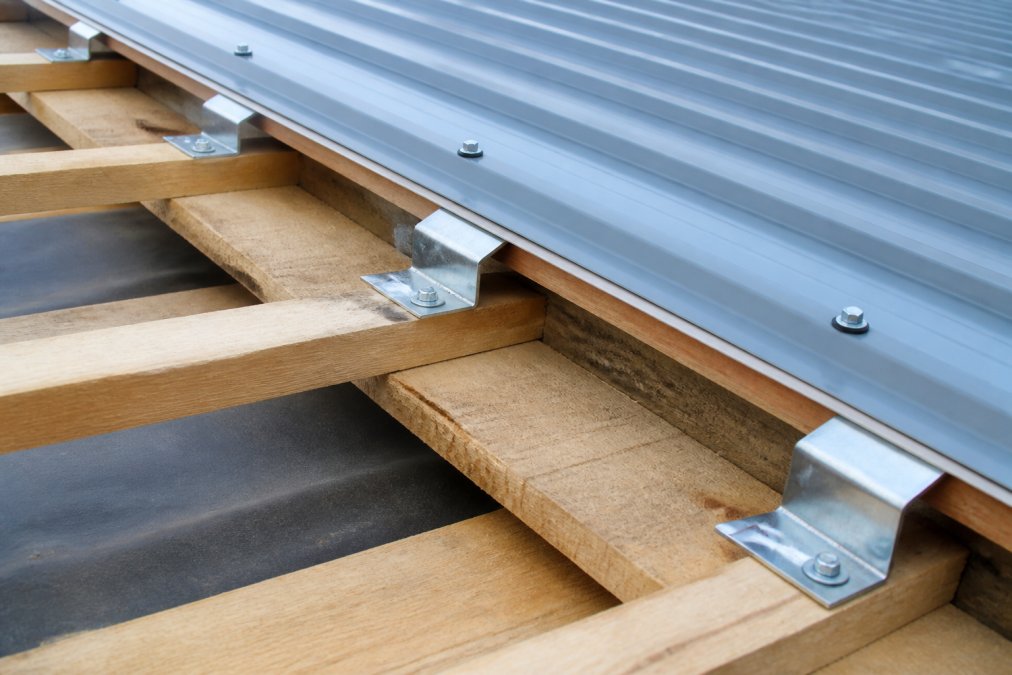
AZ-bar is a metal flashing component shaped like the letter "Z" that sits at transition points where roof panels meet walls, eaves, or other structural elements. It functions as a critical barrier against water infiltration by directing moisture away from vulnerable seams and gaps.
Z-bars work by creating a stepped profile that forces water to travel outward and downward rather than inward. The upper flange sits under the metal roof panel, while the lower flange extends down and over the adjacent surface, ensuring water cascading down the roof is redirected to drip away from the building rather than seeping behind the flashing.
Metal roofing systems are only as effective as their flashing details. The panels themselves may shed water well on a sloped surface, but at termination points, the system becomes vulnerable. Z-bars are foundational to a weathertight metal roof installation.
How Z-Bars Prevent Water Infiltration and Moisture Damage
A properly installed Z-bar intercepts water flow at a 90-degree angle. The upper leg sits under the roof panel, while the lower leg extends outward over the wall or fascia, creating a "dam" that forces water to flow outward and downward, away from the vulnerable junction.
Water that enters behind flashing can travel laterally along the substrate, saturating insulation and causing rot in wood framing. Once inside the building envelope, moisture creates conditions for mold growth, structural decay, and costly interior damage. A single season of water intrusion can compromise a roof system that would otherwise last 40-50 years.
Z-bars also protect against wind-driven rain. During storms, rain moves horizontally, and a properly designed Z-bar with adequate overhang will shed this moisture away from the building.
NRCA (National Roofing Contractors Association) [metal roofing(https://www.crsroofs.com/residential-roofing-repair--draft) guidelines | nrca.net] emphasize that flashing design is as critical as panel selection. The building envelope must be treated as an integrated system where every component works together to keep water out.
Metal Roof Flashing Types and Their Applications
Z-bars are one type of flashing in a complete metal roofing system. Standing seam roof flashing is the most common category for residential and commercial metal roofs. Standing seam panels have a vertical rib running the length of the panel, and Z-bars specifically handle transitions at eaves and walls.
Ridge cap flashing covers the peak where two roof planes meet, while hip flashing is used where two roof planes meet at an angle. Drip edge flashing is installed at the eave line to direct water away from the fascia and into the gutter system. Perforated closures fill gaps between metal roof panels and flashing, preventing pests and debris from entering the roof cavity.
Z-bars are specifically important because they handle the most common and vulnerable transition point: where a metal roof panel terminates at a vertical surface. Different roof pitches require different flashing strategies. A steep-pitched roof (8/12 or higher) sheds water quickly and may require less aggressive flashing details than a low-pitched roof (3/12 to 5/12), where water moves more slowly. A professional installer will select Z-bar profiles and materials based on the specific roof pitch, climate, and building design.
How to Install Z-Trim on Standing Seam Roof
Installing Z-trim on a standing seam roof requires precision and attention to detail.
Step 1: Prepare the substrate and measure twice. The substrate must be clean, dry, and structurally sound. Measure the length of the transition line carefully and mark the starting point.
Step 2: Install underlayment or moisture barrier. Apply a moisture barrier, such as a self-adhering membrane or mastic tape, along the substrate where the Z-bar will sit. The barrier should extend at least 6 inches up the wall.
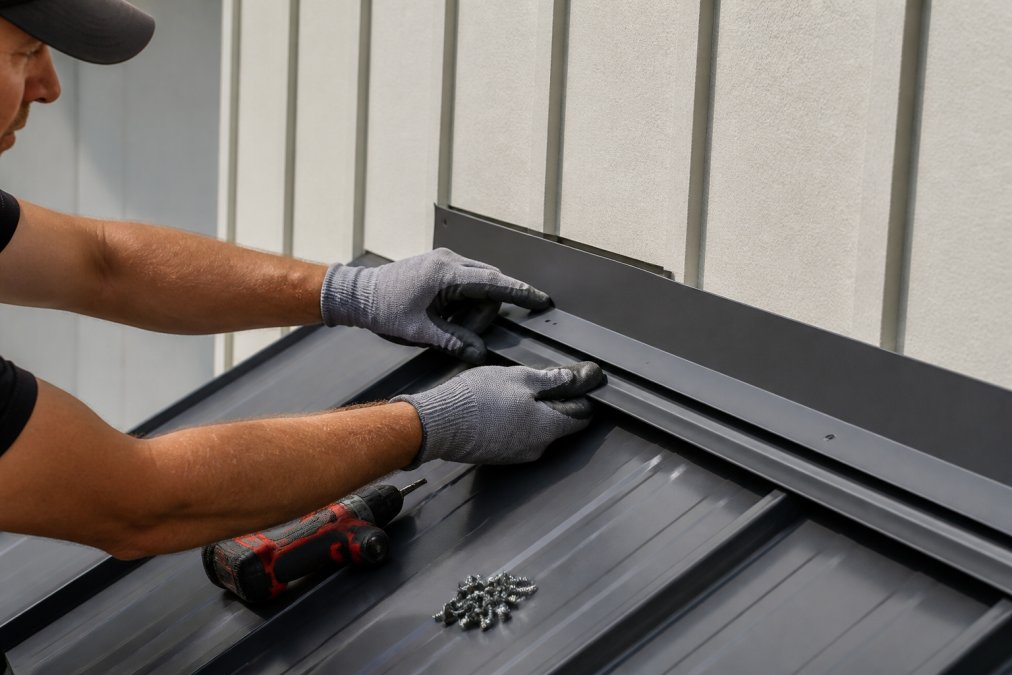
Step 3: Position the Z-bar under the roof panel. The upper flange must slide under the standing seam panel. The Z-bar should sit flush against the substrate below.
Step 4: Fasten the Z-bar to the substrate. Z-bars are typically fastened using fasteners spaced 12 to 16 inches apart, depending on wind load requirements and local building codes. Use fasteners appropriate to your substrate: stainless steel screws for wood, masonry anchors for concrete or brick.
Step 5: Secure the roof panel over the upper flange. Once the Z-bar is fastened, lower the standing seam panel so it rests on the upper flange. Some installers apply a thin bead of sealant between the panel and Z-bar to prevent water from entering the joint.
Step 6: Seal joints and overlaps. Where two Z-bars meet end-to-end, apply flexible sealant (typically polyurethane or silicone) to prevent water from entering at the joint.
Step 7: Install closure strips if needed. If your standing seam system includes closure strips, install these now to prevent insects and debris from entering the roof cavity.
Time estimate: A single eave line of 40 linear feet typically takes 2-3 hours for an experienced installer.
Common Metal Roofing Installation Mistakes to Avoid
Most metal roofing failures result from installation mistakes, not defective materials.
Mistake 1: Incorrect Z-bar sizing or profile. Z-bars come in different sizes designed for specific roof pitches. Using the wrong profile can result in inadequate water shedding.
Mistake 2: Over-fastening or under-fastening. Fastening too close together can cause the Z-bar to become rigid and prone to cracking during thermal expansion. Fastening too far apart leaves gaps where the Z-bar can flex away from the substrate during wind events. The industry standard of 12-16 inches is based on decades of field experience.
Mistake 3: Applying sealant before the substrate is dry. Sealant applied to a damp substrate will not adhere properly.
Mistake 4: Failing to account for thermal expansion. Metal expands and contracts with temperature changes. A Z-bar installed too tightly will buckle or crack as the metal expands.
Mistake 5: Using the wrong fastener material. Stainless steel fasteners are essential for standing seam roofs. Galvanized fasteners will corrode over time, especially in coastal or industrial environments.
Mistake 6: Skipping the moisture barrier. A moisture barrier adds minimal cost but provides critical protection if water does find its way past the Z-bar flange.
Mistake 7: Improper closure strip installation. Closure strips must be installed with the correct overlap and sealant pattern.
Mistake 8: Ignoring local building codes and wind load requirements. Building codes specify fastener spacing and material requirements based on local wind speeds and seismic activity.
A properly installed metal roof system with correct Z-bar details will outperform a hastily installed system by decades.
Maintenance and Inspection for Long-Term Performance
A metal roof with properly installed Z-bars can last 40-50 years or more with regular maintenance and inspection. The Z-bar flashing requires periodic attention because it's the component most exposed to weather and thermal cycling.
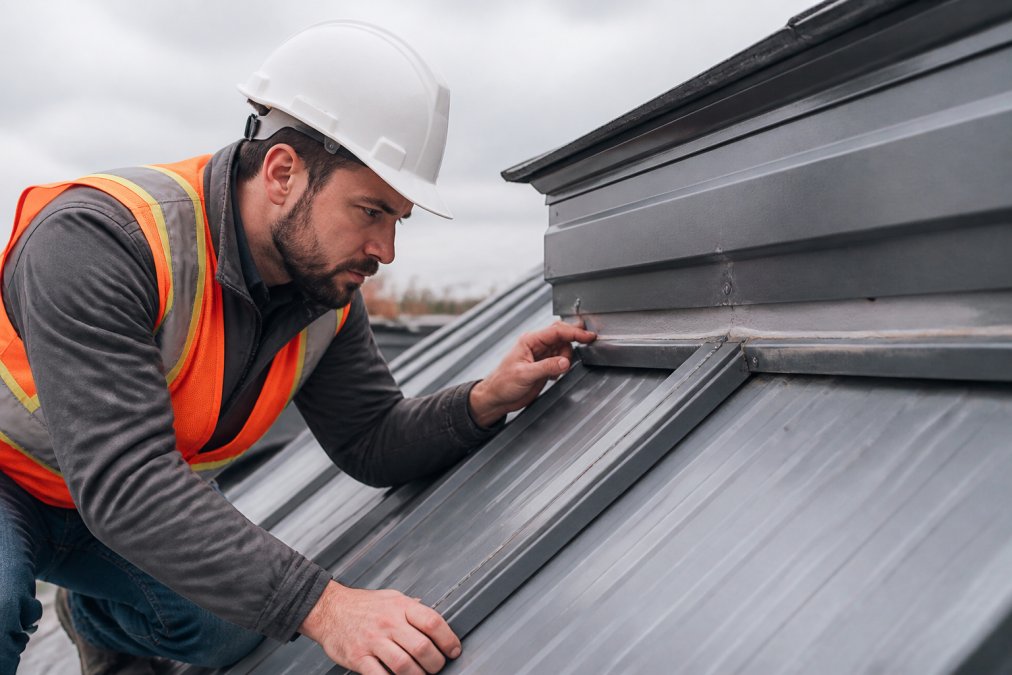
Annual inspection checklist:
- Visually inspect all Z-bar flashing for signs of corrosion or rust
- Check sealant at Z-bar joints for cracks, shrinkage, or separation
- Look for water stains or rust streaks below Z-bar transitions (indicates water intrusion)
- Verify that fasteners are tight and not corroded
- Clear any debris (leaves, dirt, moss) from the Z-bar surface
- Check for gaps or separation between the Z-bar and the roof panel or substrate
Spring inspection (after winter): Winter weather stresses the Z-bar and sealants. Inspect for cracks in sealant caused by freeze-thaw cycling, separation of the Z-bar from the substrate due to thermal stress, corrosion or rust spots, and damage from ice dams or snow slides.
Fall inspection (before winter): Prepare the roof for winter by checking sealant condition and applying fresh sealant if needed, fastener tightness, closure strip condition, and gutter and downspout function.
Maintenance tasks:
Cleaning the Z-bar surface periodically removes dirt, algae, and debris that can trap moisture. Use a soft brush or low-pressure spray (below 1,500 psi).
Sealant reapplication is typically needed every 5-10 years, depending on climate and sealant type. Monitor sealant condition and reapply when you notice cracking, shrinkage, or loss of adhesion.
Fastener inspection should include checking for corrosion and tightness. A corroded fastener should be replaced immediately with a stainless steel fastener of the same size.
Regional climate considerations affect maintenance frequency. In coastal areas, salt spray accelerates corrosion, requiring more frequent inspection and sealant maintenance. In areas with significant freeze-thaw cycling, sealant stress is higher. In arid climates with intense UV exposure, sealant degradation is accelerated.
Metal roofs with properly installed Z-bars represent one of the best long-term roofing investments available. The Z-bar is a small component with an outsized impact on roof longevity and building protection. Our team specializes in metal roofing installations that prioritize proper flashing design, quality materials, and meticulous workmanship. Book an appointment today to discuss your metal roofing needs and get a detailed assessment of your roof's current condition. We'll ensure your new system is built to last decades, not years.
| Maintenance Task | Frequency | Purpose |
|---|---|---|
| Visual inspection | Annually | Detect corrosion, sealant failure, or water damage |
| Spring inspection | After winter | Assess freeze-thaw damage and thermal stress |
| Fall inspection | Before winter | Prepare system for winter weather and thermal cycling |
| Sealant cleaning | Annually or as needed | Remove debris and prevent moisture trapping |
| Sealant reapplication | Every 5-10 years | Restore weathertight seal at flashing joints |
| Fastener inspection | Annually | Verify tightness and check for corrosion |
Frequently Asked Questions
Q: What is the purpose of a Z-bar on a metal roof?
A: Z-bars create a weathertight seal at the edges and transitions of metal roofing panels. They direct water away from vulnerable joints and prevent moisture from infiltrating the building envelope. Z-bars also manage thermal expansion by allowing metal panels to move without compromising the water barrier. This protection extends the life of your roof and prevents costly water damage inside walls and attics.
Q: Do all metal roofs require Z-bar flashing?
A: Standing seam metal roofs require Z-bars at edges, eaves, and ridge lines to function properly. Snap-lock and mechanical seam roofs also depend on flashing systems, though the specific components may differ. The building code and roof design determine exact requirements. Professional installation ensures your metal roofing system meets local codes and manufacturer specifications for complete water diversion.
Q: What happens if Z-bar flashing is installed incorrectly?
A: Improper Z-bar installation creates gaps where water infiltrates the roof assembly. Water can seep behind panels, saturate insulation, and cause mold growth and structural damage. Incorrect fastener placement or misaligned flanges prevent proper water diversion and may allow wind-driven rain to breach the building envelope. Professional installation prevents these costly mistakes and ensures your metal roof provides the protection you expect.
Q: How does Z-bar flashing prevent water infiltration?
A: Z-bars are shaped to direct water downward and outward, away from seams and fastener holes. The overlapping design creates multiple barriers that shed water before it reaches vulnerable areas. Proper installation with mastic tape and sealant creates a moisture barrier that blocks wind-driven rain. This layered approach keeps water on the surface where it drains away, protecting the substrate and structural integrity of your roof.
American Society of Civil Engineers (ASCE) guidelines on metal roofing durability
Underwriters Laboratories (UL) standards for metal roof flashing performance
International Building Code (IBC) requirements for roof flashing and water management