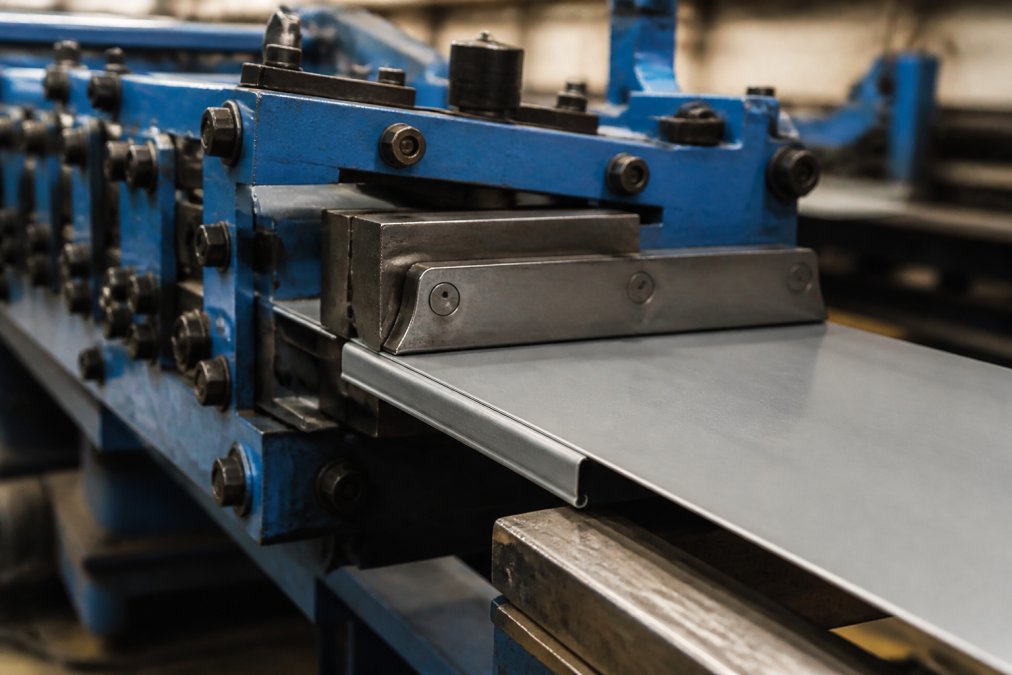
 how-to
What Is Roof Panel Hemming: A Complete Guide
Table of Contents
- What Is Roof Panel Hemming?
- Why Hemming Is Critical for Metal Roof Performance
- Understanding Eave and Rake Details in Metal Roofing
- Best Metal Roofing Hemming Tools for Professional Results
- Step-by-Step Process for Creating a Proper Roof Panel Hem
- Common Hemming Mistakes and How to Troubleshoot Failed Hems
- Visual Inspection Checklist for Hemmed Metal Roofs
- Frequently Asked Questions
Last Updated: September 2, 2026
What Is Roof Panel Hemming?
Roof panel hemming is the process of folding and securing the edges of metal roofing panels to create finished, watertight terminations. A hem is a 180-degree fold that turns the raw edge of a metal panel back on itself, creating a doubled layer that conceals fasteners, prevents water infiltration, and improves structural integrity.
At Certified Roofing Solutions Inc., proper hemming makes the difference between a roof that lasts and one that fails prematurely. The hem serves three critical functions: it eliminates sharp edges that pose safety risks, creates a moisture barrier preventing water from running down the underside of panels, and provides a finished appearance that protects the substrate from weather exposure. The metal gauge (typically 24, 26, or 29 gauge), panel leg height, and roof pitch all determine how hemming must be executed. A standing seam roof requires different hemming techniques than a corrugated or trapezoidal panel system.
Why Hemming Is Critical for Metal Roof Performance
Without proper hemming, metal roofs can fail. Water finds its way behind panels, moisture accumulates in the substrate, and thermal expansion causes panels to shift, breaking the seal. Hemming creates a drip edge or flashing detail that directs water away from vulnerable areas. When a hem is executed correctly with a 180-degree fold, water cannot flow backward under the panel, and the offset cleat remains concealed, eliminating a pathway for moisture. This is why building codes often mandate hemmed edges on exposed panel terminations (iccsafe.org).
The real cost of skipping hemming isn't apparent until water has been running down the interior of the panel leg, pooling at the fascia, and soaking into wood framing. Thermal expansion also depends on proper hemming. Metal expands and contracts with temperature changes, and a loose panel edge will slide under the hem, breaking the seal (peer-reviewed research). A properly executed hem with adequate fastening prevents this movement and maintains weather resistance across seasonal temperature swings.
Understanding Eave and Rake Details in Metal Roofing
Eave Hemming Explained
The eave is the horizontal edge where the roof meets the fascia board. This is where water naturally flows, making it the most critical hemming location.
Eave hemming requires a specific sequence: the panel leg is bent 90 degrees downward to create a vertical flange, then folded back 180 degrees to create the hem. The result is a doubled layer that extends from the edge of the panel down and back, sitting flush against the fascia. Any gap between the hem and the panel allows water to enter.
The tools required include a hand seamer (a mechanical bending tool), a metal shear for cutting panels to length, and a folding tool for the final 180-degree bend. Common mistakes include hemming too tightly (which creates stress points that crack under thermal expansion), hemming at the wrong angle (which allows water to flow inward), and failing to seal the hem with closure strips or sealant. A properly hemmed eave should have a consistent 180-degree fold with no gaps, sitting completely flush against the fascia.
Rake Edge Hemming Techniques
The rake is the sloped edge where the roof meets the gable wall. Rake hemming is more complex than eave hemming because the panel edge is at an angle.
Rake edge hemming requires notching, cutting out a small rectangular section of the panel so it can fold properly without bunching or creating stress points. The notch depth and width depend on the panel leg height and metal gauge. After notching, the panel is bent 90 degrees, then folded back 180 degrees like an eave hem. However, the roof pitch angle means the hem sits at an angle to the gable wall, requiring careful measurement and precise tool control. The rake edge is exposed to wind-driven rain, making sealing critical. Many installations use closure strips or self-adhesive sealant along the entire rake hem to prevent water from being forced up under the panel during storms.
Best Metal Roofing Hemming Tools for Professional Results
Creating a proper roof panel hem requires specialized tools designed specifically for metal bending and folding.
A hand seamer is the most essential tool. This mechanical device grabs the edge of a metal panel and bends it in a controlled manner. Quality hand seamers have smooth, hardened steel jaws that won't mar the metal surface.
A folding tool (also called a hemi-lock tool or folder) is used for the final 180-degree bend that creates the actual hem. Metal shears are essential for cutting panels to length and for notching rake edges. Hand shears work for thinner gauges (29, 26), but heavier 24-gauge metal requires powered shears or a metal cutting saw.
At Certified Roofing Solutions Inc., we invest in professional-grade tools to ensure consistent quality.
Step-by-Step Process for Creating a Proper Roof Panel Hem
Creating a professional roof panel hem follows a specific sequence.
Step 1: Measure and Mark Measure the distance from the roof deck to the edge of the fascia. Add the panel leg height plus 1-2 inches for the hem itself. Mark this length on the panel using a marker or scribe.
Step 2: Cut the Panel to Length Use metal shears or a cutting saw to cut the panel to the marked length. Make a straight, clean cut with no jagged edges or burrs.
Step 3: Notch for Rake Edges (if applicable) If this panel will terminate at a rake edge, mark and cut the notch now. The notch is typically 1.5-2 inches deep and extends the full width of the panel leg. This allows the metal to fold without bunching.
Step 4: Create the First 90-Degree Bend Using a hand seamer, grab the edge of the panel and bend it 90 degrees downward. Work slowly along the entire length of the panel, making multiple passes if needed.
Step 5: Create the 180-Degree Hem Using a folding tool or metal brake, fold the 90-degree flange back 180 degrees onto itself. The hem should sit completely flush against the panel with no gaps or separation.
Step 6: Seal the Hem Apply closure strips or self-adhesive sealant along the entire hem. This prevents water from being forced up under the panel during heavy rain or wind.
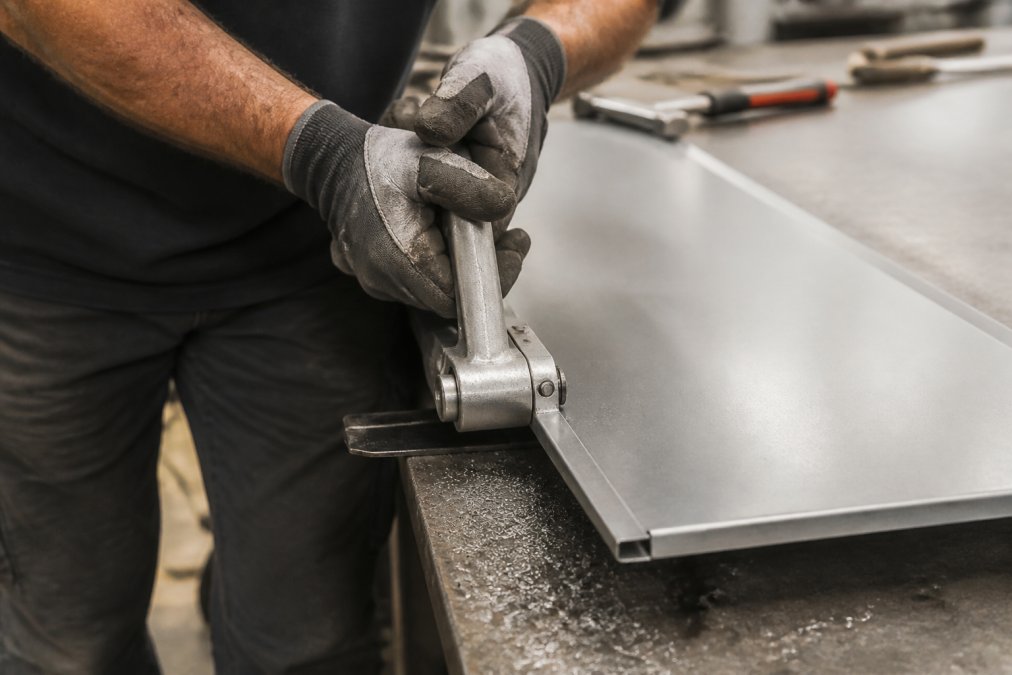
Notching Panels for Proper Folding
Notching is a critical step for rake hems.
A notch is a rectangular cut made at the top of the panel leg, typically 1.5-2 inches deep. The notch removes material that would otherwise bunch up when the panel is folded. Without the notch, the folded metal creates a thick, uneven bulge that looks unprofessional and creates stress points where the metal cracks.
The notch must be cut precisely. Too shallow, and the metal still bunches. Too deep, and the remaining material is too thin to hold the hem securely. Proper notching helps prevent expensive callbacks and warranty claims.
Executing the 180-Degree Hem
The 180-degree hem is the final, most visible step. Executing a proper hem requires consistent pressure and control. Position the folding tool so pressure is applied perpendicular to the panel surface. Make slow, deliberate passes along the entire length. The hem should sit completely flush against the panel with no gap or separation. Check your work by running your finger along the hem, it should feel smooth and tight with no movement or flex.
Common Hemming Mistakes and How to Troubleshoot Failed Hems
Mistake 1: Hemming at the Wrong Angle A hem that's not at exactly 180 degrees allows water to flow inward. The fix: use a folding tool that helps achieve a 180-degree angle.
Mistake 2: Gaps Between the Hem and Panel If the hem doesn't sit completely flush, water enters the gap. The fix: inspect the first bend carefully before moving to the second fold. If it's wavy or inconsistent, re-bend it.
Mistake 3: Hemming Too Tightly Over-tightening creates stress points that crack during thermal expansion. The fix: apply firm, consistent pressure but don't over-torque the tool.
Mistake 4: Notching Rake Edges Incorrectly Notches that are too shallow, too deep, or uneven create bunching and stress. The fix: measure twice, cut once. Use a template or marking guide to ensure consistent notch depth and width.
Mistake 5: Failing to Seal the Hem An unsealed hem allows water to be forced up under the panel during heavy rain. The fix: apply closure strips or self-adhesive sealant immediately after hemming.
If a hem is already failed (loose, cracked, or allowing water infiltration), the panel may need to be removed and re-hemmed or replaced.
Visual Inspection Checklist for Hemmed Metal Roofs
After hemming is complete, a thorough inspection ensures the work meets professional standards.
Eave Hem Inspection:
- Hem is 180 degrees (not 160 or 170 degrees)
- Hem sits completely flush against the fascia with no gaps
- No waves or inconsistencies along the length
- Fasteners are concealed and not visible
- Hem is sealed with closure strips or sealant
- Panel edges are smooth with no burrs or sharp points
- Hem alignment is consistent across the entire roof
Rake Edge Hem Inspection:
- Notches are uniform in depth and width
- Hem is 180 degrees with no deviation
- Hem sits flush against the gable wall
- Hem is sealed with sealant along its entire length
- No gaps between the hem and panel
- No stress cracks visible in the folded metal
- Hem alignment matches the roof pitch angle
Overall Roof Inspection:
- All panel edges are hemmed (no exposed raw edges)
- Flashing details are sealed and integrated with hems
- Drip edges direct water away from the structure
- No water staining or evidence of leaks along hems
- Panel fasteners are properly concealed
- Thermal expansion gaps are maintained between panels
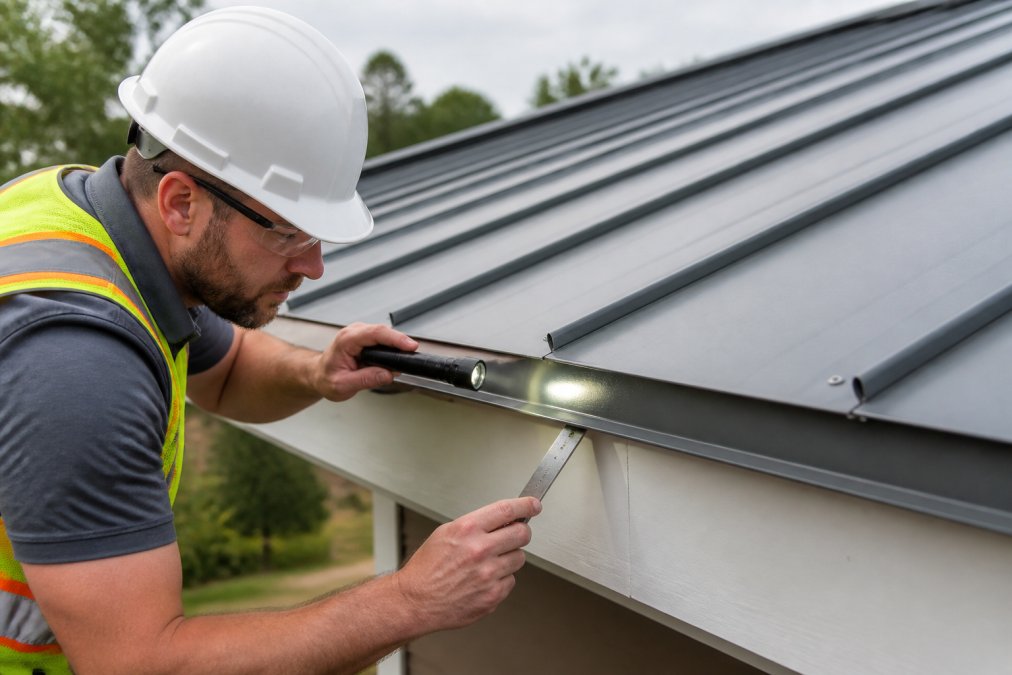
A visual inspection helps identify defects before they become expensive problems.
Roof panel hemming is one of those details that separates a roof that lasts from one that fails. The process is straightforward, the tools are important, and the stakes are high. At Certified Roofing Solutions Inc., we've built our reputation on understanding that hemming isn't an optional finishing touch, it's a foundation of a weather-resistant roof system. If you're planning a metal roof installation or need to evaluate an existing roof's hemming quality, the inspection checklist above will help you spot defects. For detailed metal roofing installation standards provides additional technical guidance. Contact Certified Roofing Solutions Inc. today to ensure your metal roof receives professional hemming.
Frequently Asked Questions
What is the purpose of hemming in metal roofing?
Hemming creates a watertight seal at panel terminations by folding the metal edge back on itself, typically into a 180-degree bend. This design prevents moisture from entering the substrate and building, protects the exposed metal edge from corrosion, and ensures the structural integrity of the roof system. Without proper hemming at eaves and rakes, water can penetrate gaps and cause costly damage to the building's interior.
Why is hemming required at the eaves and rakes of a metal roof?
Eaves and rakes are the most vulnerable areas of a metal roof because they're exposed to wind-driven rain, thermal expansion, and weather stress. Hemming these edges creates a finished, sealed termination that prevents water infiltration and fastener concealment. The eave hem directs water away from the fascia, while the rake hem protects the roof's sides. Both require proper hemming to meet building codes and ensure long-term weather resistance.
What is the difference between a hem and a fold in metal roofing?
A fold is a single 90-degree bend in the metal panel, while a hem is a 180-degree fold that doubles the metal back on itself. Hems provide superior strength, water protection, and a finished appearance compared to simple folds. Hems are a professional standard for roof panel terminations because they create a complete moisture barrier and conceal fasteners, whereas folds leave exposed edges vulnerable to corrosion and water intrusion.
What tools are needed to create a professional metal roof hem?
A hand seamer is the primary tool for creating clean, consistent hems on metal roofing. Additional tools include a metal shear for cutting panels, a bending tool or folder for forming the initial fold, and a notching tool for preparing panel legs before folding. Professional roofers also use measuring devices and safety equipment. The specific tools depend on the metal gauge and the hemming technique being used.