 how-to
How to Prepare Your Roof for Winter: 2026 Checklist
Table of Contents
- Step 1: Inspect Your Roof for Existing Damage
- Step 2: Clean Gutters and Downspouts for Proper Roof Drainage
- Step 3: Check Attic Insulation and Ventilation
- Step 4: Preventing Ice Dams on Roof
- Step 5: How to Identify Storm Roof Damage Before Winter
- Step 6: When to Call a Professional Roofer
- Frequently Asked Questions
Last Updated: September 17, 2026
Step 1: Inspect Your Roof for Existing Damage
Learning how to prepare your roof for winter starts with a thorough inspection, ideally completed before the first hard freeze. A fall inspection catches small problems while they are still cheap to fix. Look for curling shingles, granule loss in gutters, cracked sealant around flashing, and any soft spots that suggest moisture has reached the underlayment. Binoculars from the ground are safer than climbing, especially on steep roof pitches.
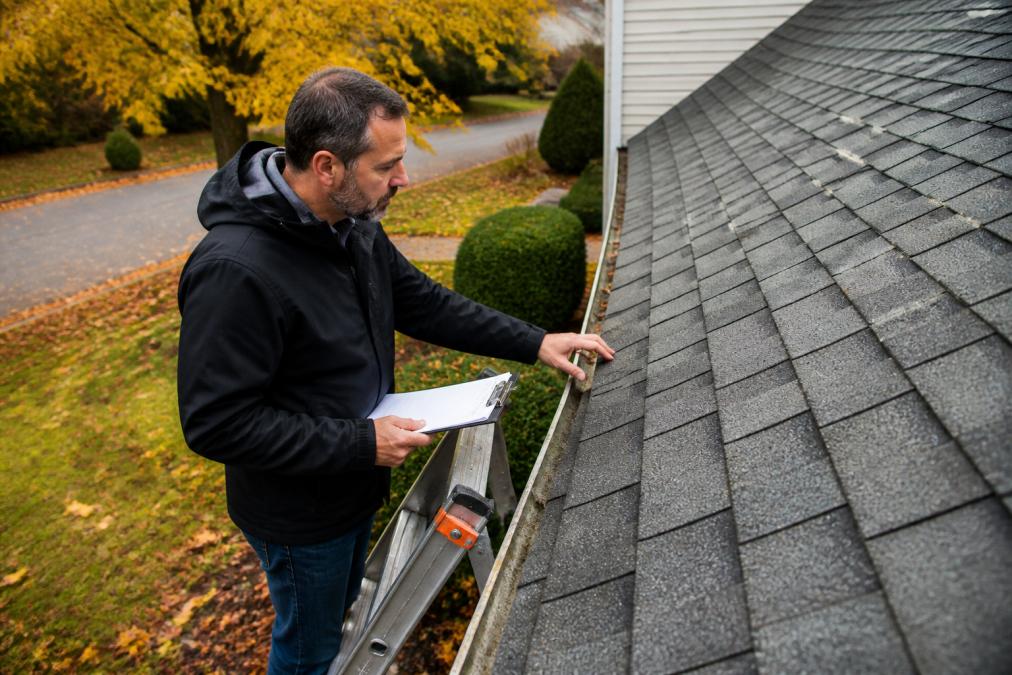
A common mistake is inspecting only the front slope. Check every side, including the one facing away from the street, because that is where wind-driven rain and debris tend to do the most quiet damage.
Step 2: Clean Gutters and Downspouts for Proper Roof Drainage
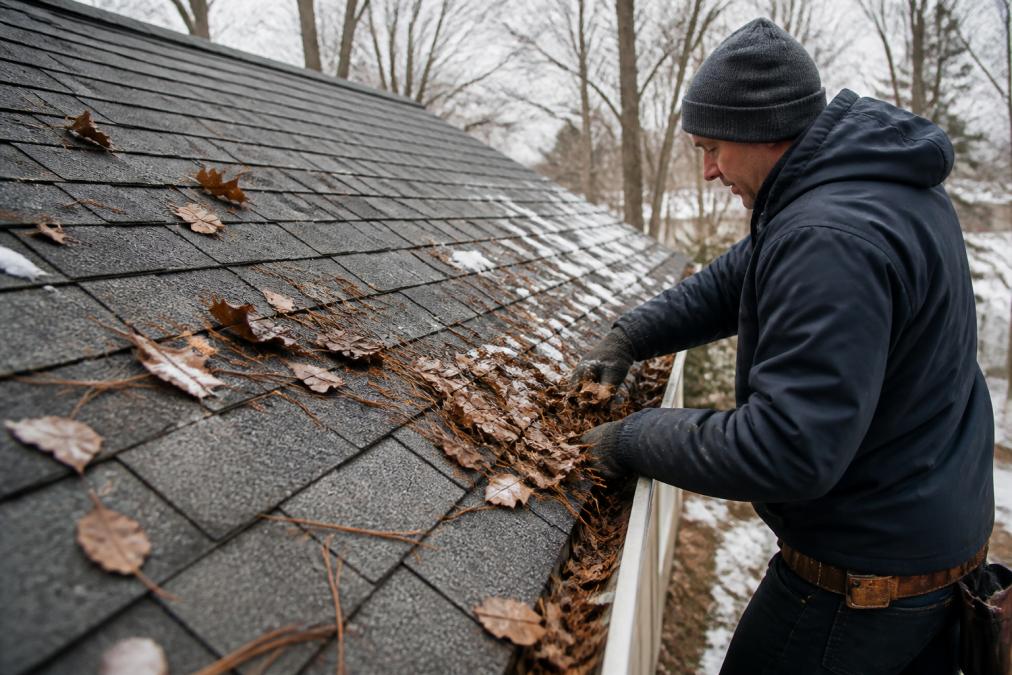
Clogged gutters are the leading cause of winter water damage, and clearing them is one of the most valuable tasks on any fall cleanup list. Leaves, twigs, and shingle granules collect through autumn, and once temperatures drop, that debris traps water that freezes and backs up under the roof edge. Clear gutters and downspouts by hand or with a scoop, then flush them with a hose to confirm water flows freely away from the foundation. Check that downspouts direct water at least several feet from the house.
Roof drainage matters more than most homeowners realize. A gutter that overflows during a winter thaw can soak fascia boards, soffits, and the top of your walls. If you find granules piling up in the gutter, that is a sign your shingles are deteriorating and worth a closer look.
Step 3: Check Attic Insulation and Ventilation
Attic ventilation and insulation are your roof's first line of defense against winter damage. Proper insulation keeps warm air inside the living space, while soffit vents and ridge vents let cold air move through the attic and exit. When warm air escapes into the attic, it melts snow on the roof deck, and that meltwater refreezes at the colder eaves. The result is an ice dam.
Check for these warning signs:
- Frost or condensation on attic rafters and roof nails
- Damp or matted insulation near the eaves
- Visible daylight or gaps around vents and penetrations
- A stuffy, overheated attic in summer
Sealing air leaks around light fixtures, chimneys, and attic hatches reduces thermal bridging and helps your home hold heat where it belongs.
Step 4: Preventing Ice Dams on Roof
Preventing ice dams on roof edges is the single most important winter-specific task you can control, and it is also the task most guides describe without telling you how to actually do it. An ice dam forms when snow melts on the warmer upper roof, runs down to the cold eaves, and refreezes into a ridge of ice that traps water behind it. That trapped water seeps under shingles, through the underlayment, and into ceilings and walls. The damage rarely shows up until a thaw, which is why prevention beats reaction every time.
The mechanism, in plain terms. Three conditions have to line up: a warm roof deck above, a cold eave below, and snow sitting on top. Break any one of them and the dam cannot form. That gives you three levers.
- Keep the roof deck cold. Air-seal the attic floor first, can lights, attic hatches, plumbing chases, and the gap around the chimney are the usual culprits. Sealing these penetrations does more to stop ice dams than adding insulation alone, because warm air leaking into the attic is what heats the deck.
- Ventilate the attic correctly. Soffit vents bring cold air in low; ridge vents or a properly sized roof vent lets warm air out high. Blocked soffit vents, often from insulation pushed into the eaves, are a common failure point. Use baffles to keep an air channel open at each rafter bay.
- Control snow where it matters. On low-slope or vulnerable sections, a roof rake lets you pull the bottom few feet of snow off from the ground. Never rake above your reach, never stand on the roof to do it, and never pull snow off a roof with power lines overhead.
Waterproofing membrane at the eaves. In colder regions, roofers install a self-adhering waterproofing underlayment along the eaves and in valleys during installation or replacement. It is not a fall weekend project, it goes under the shingles, but if your roof is due for replacement, ask whether eave membrane is included in the scope. It is the most reliable backstop against water that gets past the shingles.
Heated cables: what they do and do not do. Electric heat cable (often called heat tape) zigzagged along the eave and through downspouts can keep a channel open for meltwater to drain.
Regional note. Ice dams are a cold-climate, snow-belt problem. If you live where snow rarely accumulates and thaws are frequent, your bigger winter risks are wind-driven rain at flashing and freeze-thaw cycles at sealant joints, see the storm damage section below.
Step 5: How to Identify Storm Roof Damage Before Winter
Before winter: what to look for from the ground.
- Missing, torn, or lifted shingles
- Dented gutters, downspouts, or vent caps
- Cracked or displaced flashing around chimneys and vents
- Granules collecting in gutters or at downspout outlets
- Water stains on attic ceilings or exterior walls
After the first major winter storm: the post-storm walkthrough.
- Ice dam formation at the eaves. A new ridge of ice along the eave after a thaw-refreeze cycle is the earliest sign your attic is running warm. Note where it forms; that tells you which part of the attic needs air sealing.
- Icicles and their source. Long, thick icicles hanging from the eave or from a specific roof penetration point to a heat leak or a drainage problem directly above them. Thin, scattered icicles on a cold morning are normal.
- Snow melt patterns. Uneven melting, bare patches on the upper roof while the eaves stay snow-covered, is a visual map of where heat is escaping.
- Interior warning signs. Brown rings on the ceiling, bubbling paint, a musty smell in the attic, or daylight visible around a chimney are all signs that water has already found a path. Photograph everything with a date stamp before you call anyone.
The lifecycle view. Treat roof care as a loop, not a one-time fall checklist: inspect before winter, monitor after each major storm, repair in the shoulder seasons, and re-inspect before the next winter. Homeowners who follow that loop catch problems while they are still small.
Step 6: When to Call a Professional Roofer
There is a clear line between what a homeowner should handle and what belongs to a licensed professional. Cleaning gutters, trimming overhanging branches, and removing surface debris are reasonable DIY tasks with proper ladder safety and a safety harness on steep sections. Structural repairs, flashing replacement, shingle repair, and anything involving walking a steep or damaged roof are professional work.
Call a professional roofer when you see:
- Curling, missing, or cracked shingles across more than a small area
- Any sign of water intrusion in the attic
- Ice dams that have already formed
- Flashing that is loose, rusted, or separated from the chimney or vents
- A roof older than its expected service life
Frequently Asked Questions
What temperature is too cold to put on a roof?
Roofing work becomes unsafe and ineffective below 40°F. Asphalt shingles turn brittle and can crack when walked on, and most sealants and adhesives won't cure properly. If you need to prepare your roof for winter and temperatures are already dropping, schedule inspections and repairs before the first hard freeze. For emergency situations, a professional roofer can use cold-weather products rated for lower temperatures.
How long can you leave a tarp on your roof?
A tarp is a temporary fix, not a permanent solution. Most roofing professionals recommend leaving a tarp in place for no more than 30 to 60 days. Extended use can trap moisture, hide worsening damage, and void certain warranties. If you've tarped your roof after storm damage, schedule a permanent repair as soon as possible, especially before winter weather makes conditions worse.
What can I put on my roof to stop ice dams?
Ice dams form when warm attic air melts snow that refreezes at the eaves. The most effective prevention is improving attic insulation and ventilation so the roof deck stays cold. You can also install heated cables along the eaves and in valleys, but these are a supplement, not a replacement for proper insulation. Never chip at ice dams with sharp tools, as you can damage shingles and create leaks.
Should I cover my entire roof with an ice and water shield?
Full coverage provides maximum protection, but it's not always necessary. Ice and water shield is required by code in many areas along eaves, valleys, and around penetrations. Installing it across the entire roof deck adds cost but can be worthwhile in regions with heavy snow and freeze-thaw cycles. A professional roofer can assess your roof pitch, local climate, and budget to recommend the right coverage level.
Winter will test your roof whether you are ready or not. The homeowners who avoid costly spring repairs are the ones who inspect, clean, and repair in the fall. Certified Roofing Solutions Inc. offers full roof inspections, storm damage assessments, and repairs tailored to your home or commercial property, backed by an experienced team committed to getting it right the first time. Book an appointment today and head into winter with a roof you can trust.